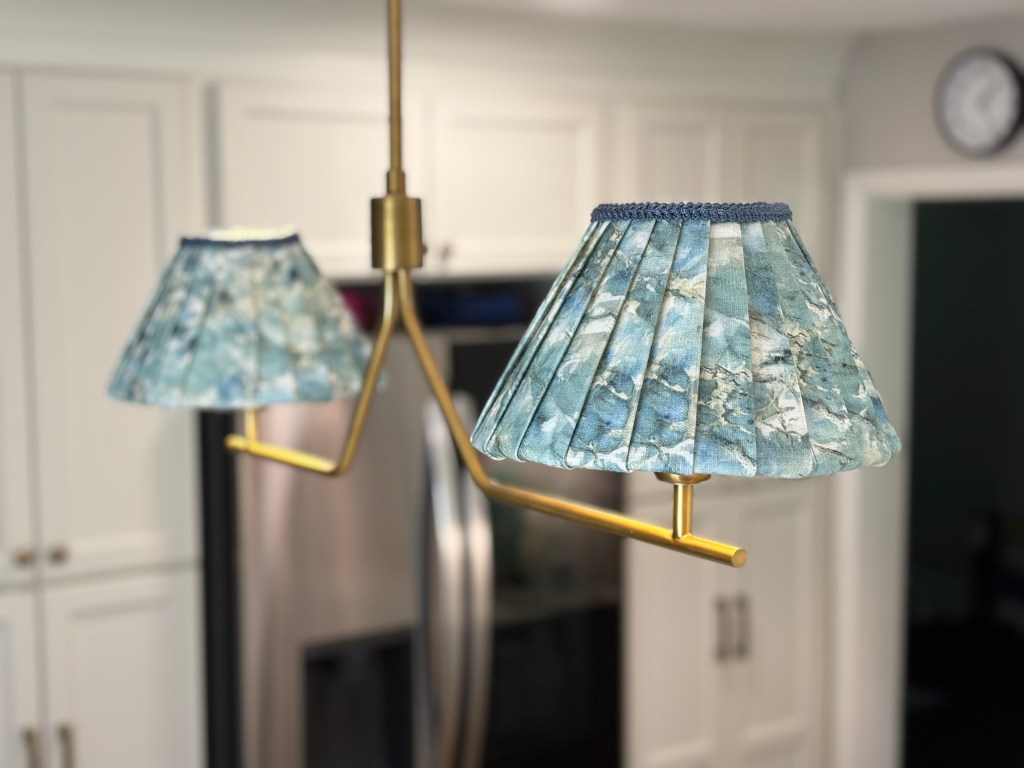
I’ve been wanting to bring more color and personality into my kitchen, but I wasn’t quite sure how. A fun new light fixture crossed my mind—but instead of buying something new, I decided to get creative with what I already had.
With a little fabric, some hot glue, and a dash of creativity, I transformed our basic pendant lights into charming, pleated fabric shades that are full of color and texture. The best part? You can customize this to fit any lampshade size or fabric style. And if you don’t sew—don’t worry! I’ve included a no-sew version, too.
(Note: This post contains affiliate links)
Materials You’ll Need:
- Fabric of your choice (amount depends on your lampshade size)
I used 1 yard to cover two 10” shades - Matching thread (for sewing option)
- Sewing machine (optional)
- Trim (enough to go around the top edge of the lampshade)
- Hot glue gun + glue sticks
- Fabric scissors or rotary cutter + mat
- Iron
Planning Your Pleats:
Before you start cutting, it’s important to plan a bit. Here’s what worked for me:
- I wanted my pleats to be about 1.5″ wide, with each strip long enough to wrap from the top of the lampshade to the bottom rim, plus some extra to tuck under.
- I cut my strips to 11″ long by 3″ wide. After folding and sewing (or gluing), they became 1.5″ wide.
- From 1 yard of fabric, I got about 60 strips.
- If your shade is larger or a different shape, adjust your strip size accordingly.
- Prefer a tighter pleat? Just cut your strips thinner!
Step-by-Step Instructions:
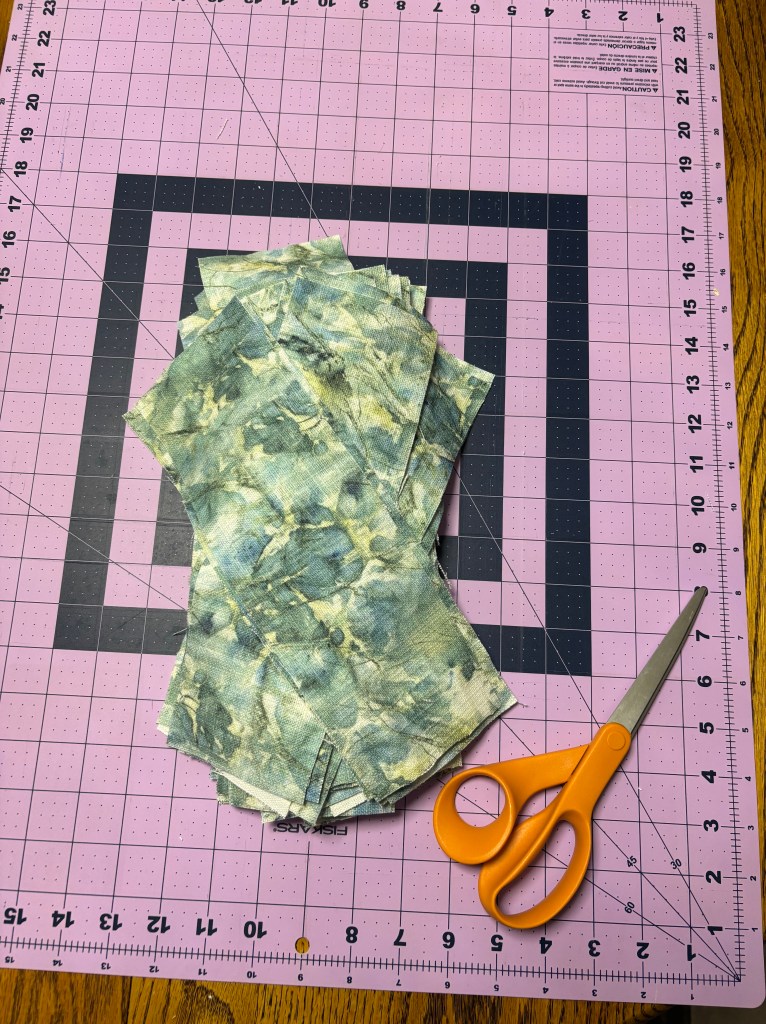
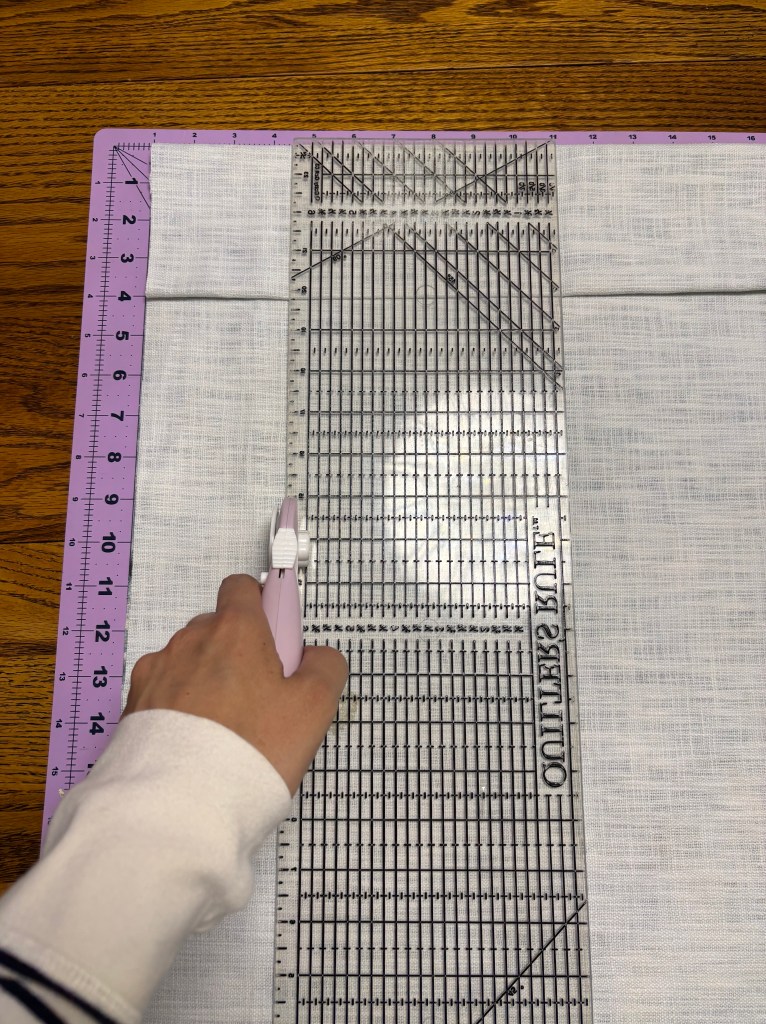
1. Cut your fabric strips.
Use a rotary cutter and mat with measurement lines if possible—it makes life easier! For my project, I cut strips that were 11″ x 3″.
2. Press each strip in half (lengthwise).
Use your iron to get a clean fold—this will help when sewing or gluing. Pin the two ends together for ease of sewing.
3. Create your strips:
- Sewing option: Stitch the long open edge about 1/8″ in. The seam will be hidden by overlapping pleats.
- No-sew option: Use hot glue to seal the edges together instead.

4. Create finishing strips (you’ll need 2):
These go where the pleated fabric begins and ends, so they need to look seamless.
To make the tube:
- Cut the Strip: Start by cutting a fabric strip slightly wider than your other strips.
- Fold the Fabric: Fold the strip in half lengthwise, with the unprinted (wrong) side facing out.
- Create the Tube: Sew or glue along the long edge, about ½ inch from the raw edge, to form a tube.
- Turn the Tube Right Side Out: This step can be a bit tricky—carefully turn the tube inside out so the printed (right) side is now on the outside. You may find it helpful to use a safety pin, chopstick, or turning tool.
- Finish: Once turned right-side out, iron the tube flat to give it a clean, crisp look.

5. Adjust length if needed.
I found 9″ worked better for my lampshade after testing. You want just enough fabric to tuck under the bottom rim. I cut all my strips to 9”.
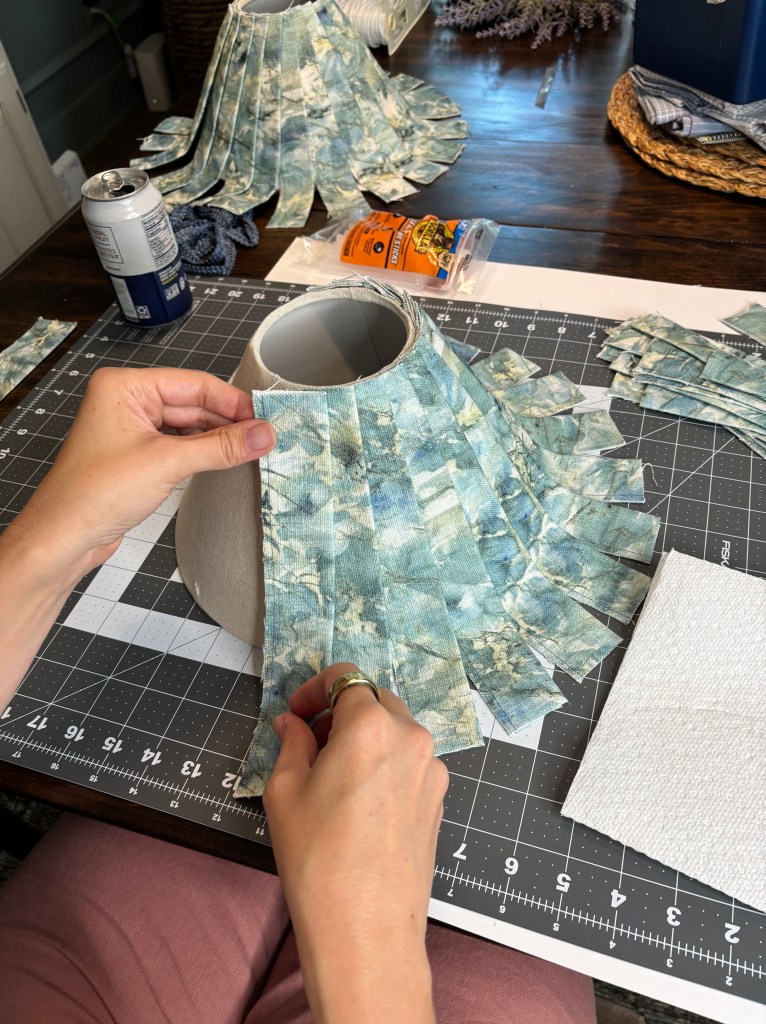
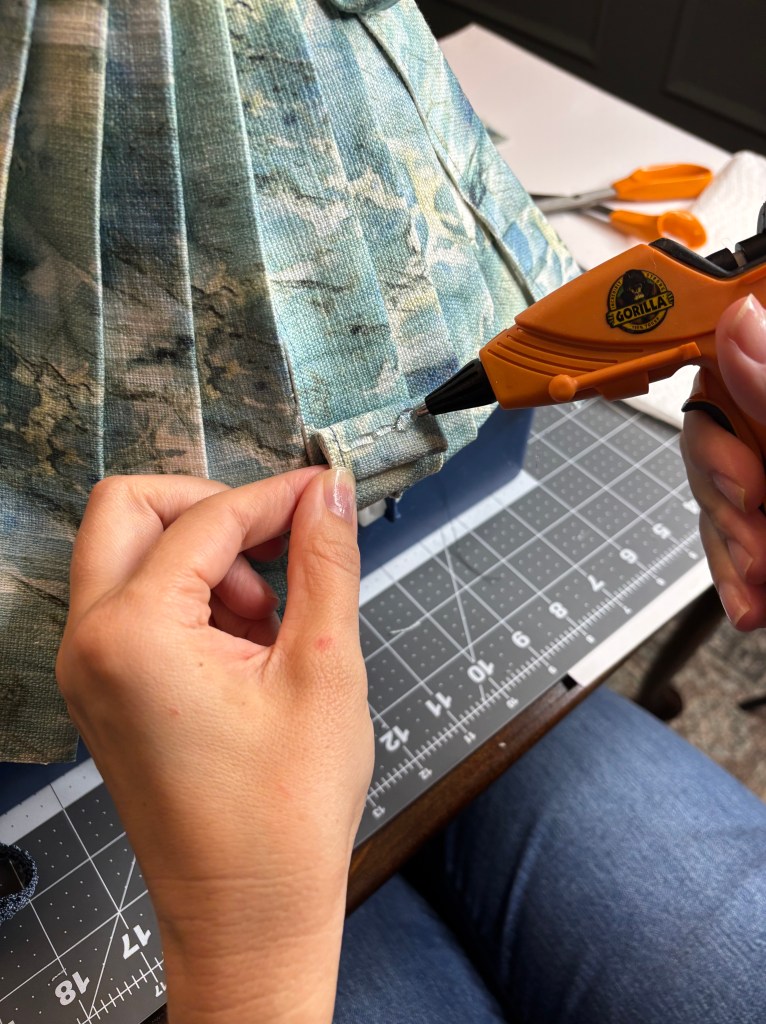
6. Start gluing!
Once your glue gun is hot (and you’ve got your gloves on—trust me, I wish I had), start by attaching one strip at the top rim. Keep the edge just below the top rim—you’ll cover it with trim later.

7. Overlap the strips.
I overlapped each strip by about half its width to create a full, pleated look.
Pro Tip: Keep all the seams facing the same direction and hide them under the next overlapping strip.
8. Glue the bottoms down.
Roll the bottom edge of each strip under twice (about ½”), then glue it to the inside of the lampshade. Pull snug, hold for a few seconds to set.
Note: Lampshades often have a slight angle, so you may need to angle your strips slightly so they lay flat top to bottom.

9. Work around any metal supports.
If there are metal braces on the bottom rim, snip the pleated fabric strip to fit around it before gluing.
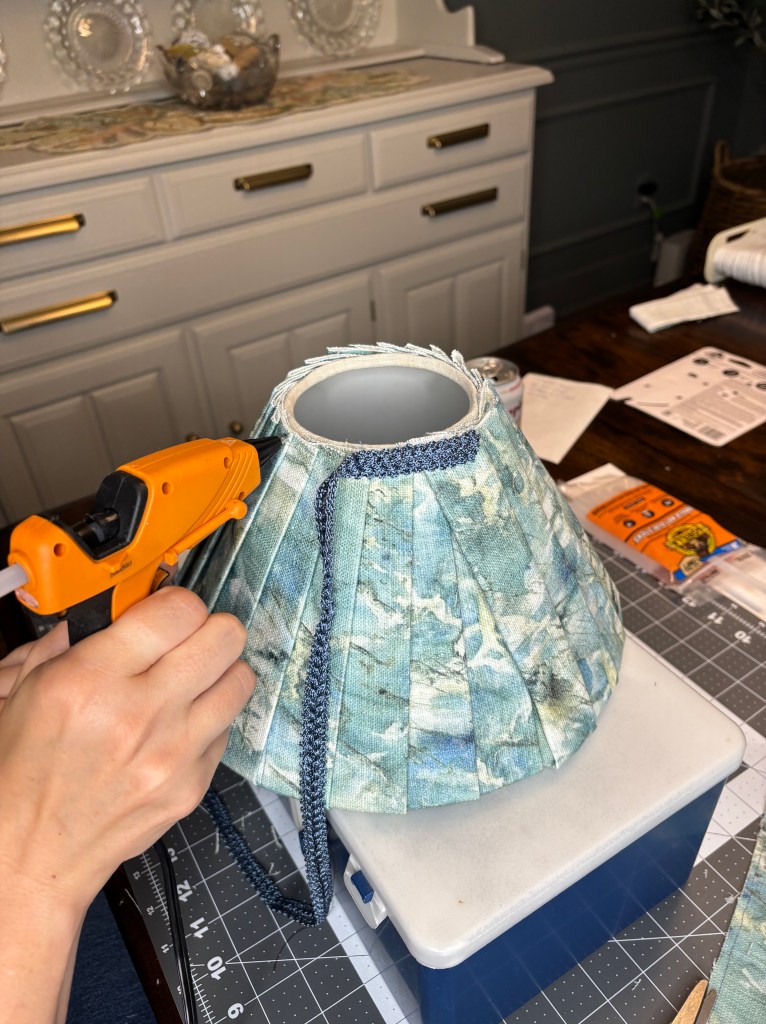
10. Finish the edge.
Glue your prepared finishing strip to the top of the lampshade, covering where your pleated fabric started and ended. Tuck and glue the bottom just like the other strips.

11. Add the trim.
Finally, glue your decorative trim around the top rim to cover any raw edges or uneven spots.
Final Thoughts:
I’m thrilled with how this turned out—it added exactly the pop of pattern and color I was craving in my kitchen. It took some patience (and a few fingertip burns), but now I have a completely custom light fixture that cost very little and brings so much personality into the space.
Give it a try! Whether you sew or not, this is a fun and rewarding DIY that totally transforms a room.
Let me know in the comments if you try this project—or tag me on Instagram (@wrightathome_nc) so I can see your creations!
