I’ve always loved the idea of having a garden—fresh produce just steps from my kitchen, vibrant greens and reds in the yard, and the satisfaction of eating something I grew with my own two hands. But between work, life, and the sheer effort I knew it would take, it never felt like the right time.
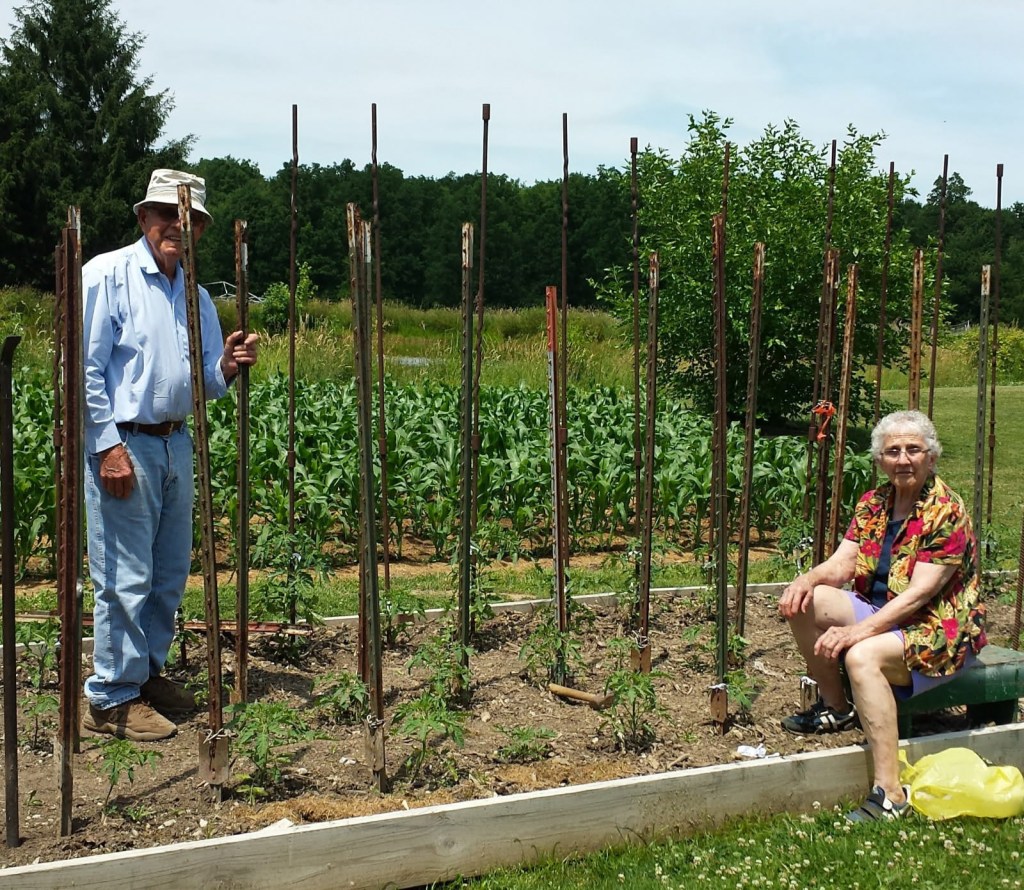
Still, it’s been in my roots (pun intended) for as long as I can remember. My dad is an avid gardener, and my grandparents grew their own food for decades. So this spring, I finally went for it—and built my first raised garden bed.
If you’re on the fence like I was, let me walk you through the process. It’s simpler than it seems, and I promise: eating a tomato fresh off the vine makes it all worth it.
Why a Raised Bed?
Raised beds offer several benefits for beginners and experienced gardeners alike:
- Better soil control: You decide exactly what goes in.
- Improved drainage: Especially important if you live somewhere with heavy clay or poor soil.
- Fewer weeds: Especially if you add a weed barrier (more on that below).
- Easier on your back: No bending over as far to tend your plants.

Materials & Tools
Here’s what we used for an 8’x4’ bed:
Materials:
- 4 cedar planks, 8′ x 8″ x 1″
- 4 cedar planks, 4′ x 8″ x 1″
- 1 cedar post, 8′ x 4″ x 4″ (cut down for corner supports)
- 8 corner brackets
- 4 flat brackets
- Wood screws
- Weed barrier
- Filler (wood scraps, leaves, etc.)
- Cow manure
- Quality topsoil
- Plants: we did tomatoes, peppers, cucumbers, basil, marigolds, and one brave broccoli
Tools:
- Miter saw
- Drill
- Tape measure
- Level
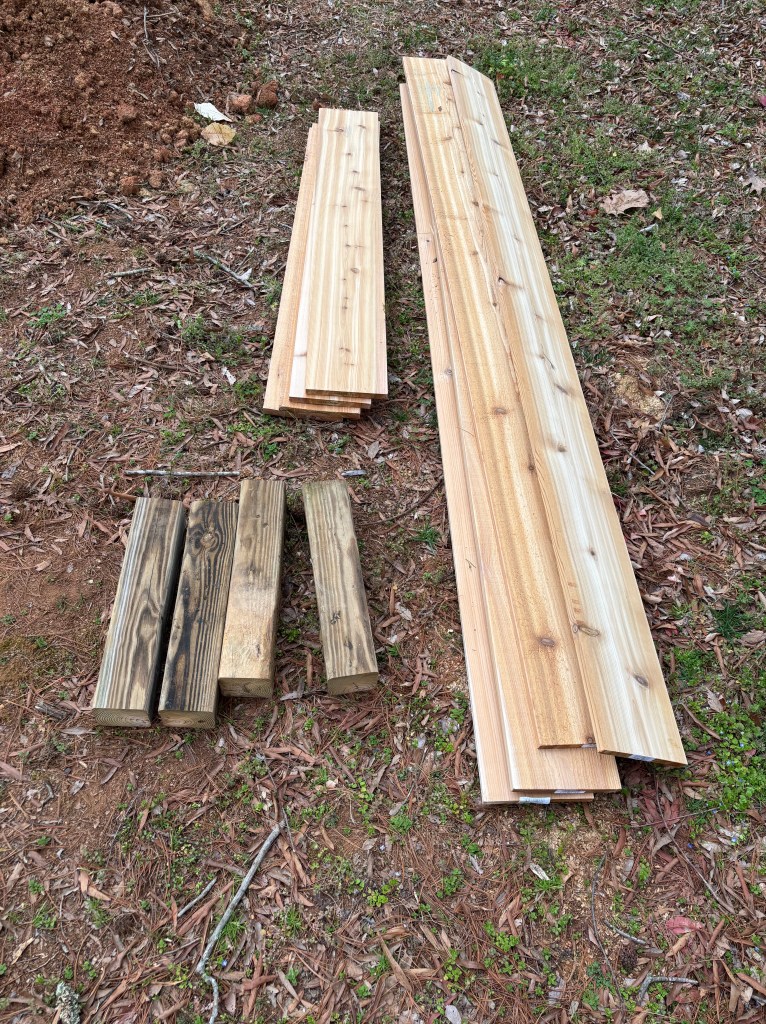
Why Cedar?
If you’re going to invest in a raised bed, cedar is hands-down the best choice. It’s naturally rot-resistant, doesn’t need to be treated with chemicals, and it weathers beautifully over time. It might be a little more expensive up front, but it’ll last much longer than untreated pine or other woods.
Step-by-Step: Building the Bed
- Find a flat spot.
Choose a sunny, level area with at least 6–8 hours of direct sunlight per day. It’ll make a huge difference for most vegetables. - Cut your wood.
If not already pre-cut, measure and cut your cedar planks to 4′ and 8′ lengths. Cut the 4×4 post into four 16″ pieces to serve as corner supports. - Assemble the frame.
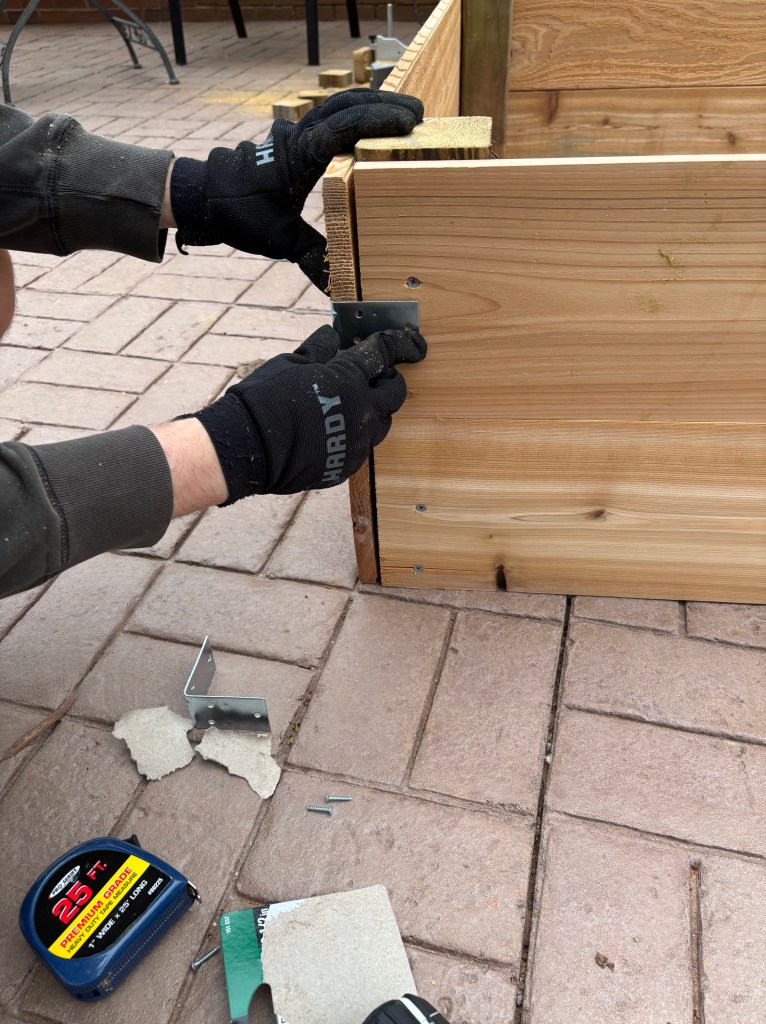
Start with one corner: attach an 8′ board and a 4′ board to one of the corner posts using screws and a drill. Use your level to make sure the boards are even and square. Repeat for each corner until the frame is complete. - Reinforce the corners.
Once the boards are flush, attach your metal corner brackets to strengthen each corner. Add the flat brackets to the long sides for extra stability. - Lay a weed barrier.
Trust me, this step is worth it. Line the bottom of the bed with landscape fabric to drastically reduce the number of weeds you’ll battle later on.
Filling the Bed
Here’s the layering strategy we used:
- Bottom layer: Wood scraps, sticks, and dried leaves. This fills space and helps with drainage.
- Middle layer: Dirt we had left from digging out our patio. Use what you have if possible.
- Next layer: Cow manure. This stuff is gold for gardens—it’s rich in nutrients and improves soil structure.
- Topsoil layer: A high-quality topsoil. Look for something with organic matter and compost. I recommend something labeled for raised beds or vegetable gardening.
- Top layer: Mulch. Adding a layer of mulch helps retain moisture, suppresses weeds, and gives the bed a finished, tidy look. It also breaks down over time, enriching your soil even more.

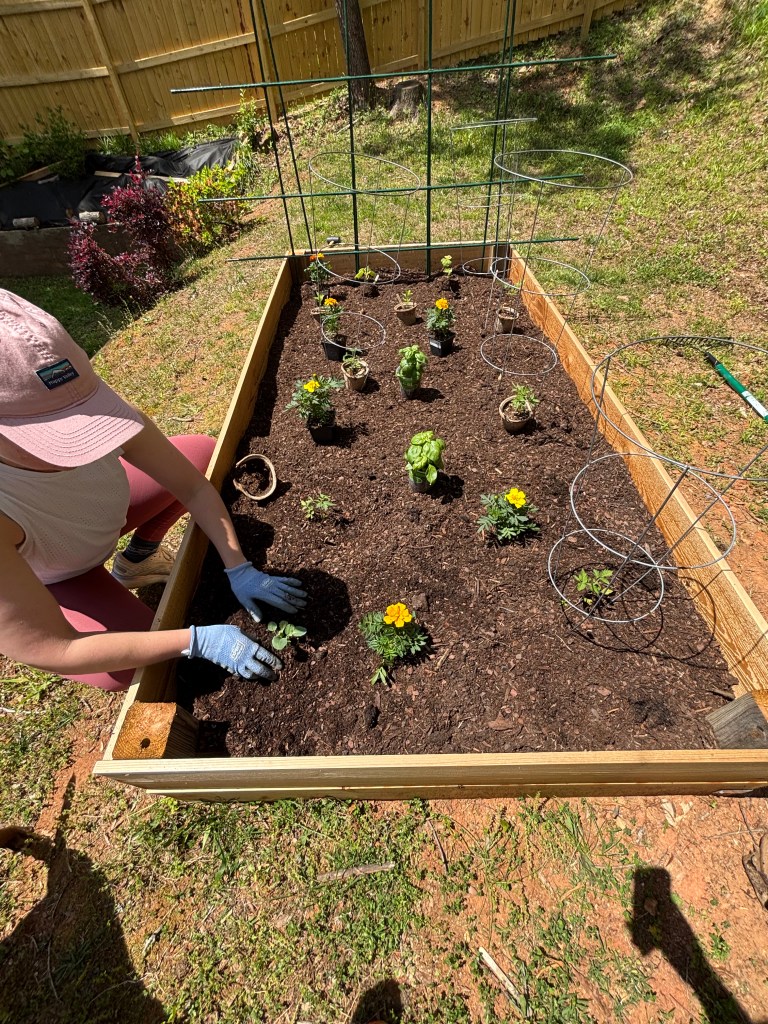
Planting Time!
We planted:
- Tomatoes (with cages for support)
- Peppers
- Cucumbers (with a small trellis to climb)
- Basil
- Marigolds (great for natural pest control)
- Broccoli (just one—we’ll see how it does!)
Spacing Tips:
Give each plant room to grow. Tomatoes and peppers need at least 18–24″ between plants. Cucumbers can be spaced about 12–18″ apart if climbing. Basil can go closer—around 10–12″. And don’t forget to leave space for airflow and access so you’re not stepping into the bed when harvesting.
Final Thoughts
Starting a garden might seem overwhelming, but once you take that first step, it becomes something you look forward to. I love how having fresh produce inspires me to cook more creatively—and the fact that it’s healthier and more sustainable is just the cherry tomato on top.
If you’ve been dreaming of a garden but waiting for the “right” time—this is your sign.

Happy planting!