This half bath project has truly been a labor of love. It all started shortly after we finished our house renovation. Eager to test our DIY skills, we decided to wallpaper the bathroom ourselves. Well, let’s just say it didn’t go as planned. By the end of it, we were ready to strangle each other, and to make matters worse, the wallpaper looked awful. We decided to live with it for a while and figure out what to do next. Fast forward nearly two years, and we’re finally ready to take on the challenge again.
This time, I knew I wanted a change. My goal was to brighten up the space and give the half bath a more sophisticated, timeless vibe—far from the dark and quirky look we originally went for.


Project Details:
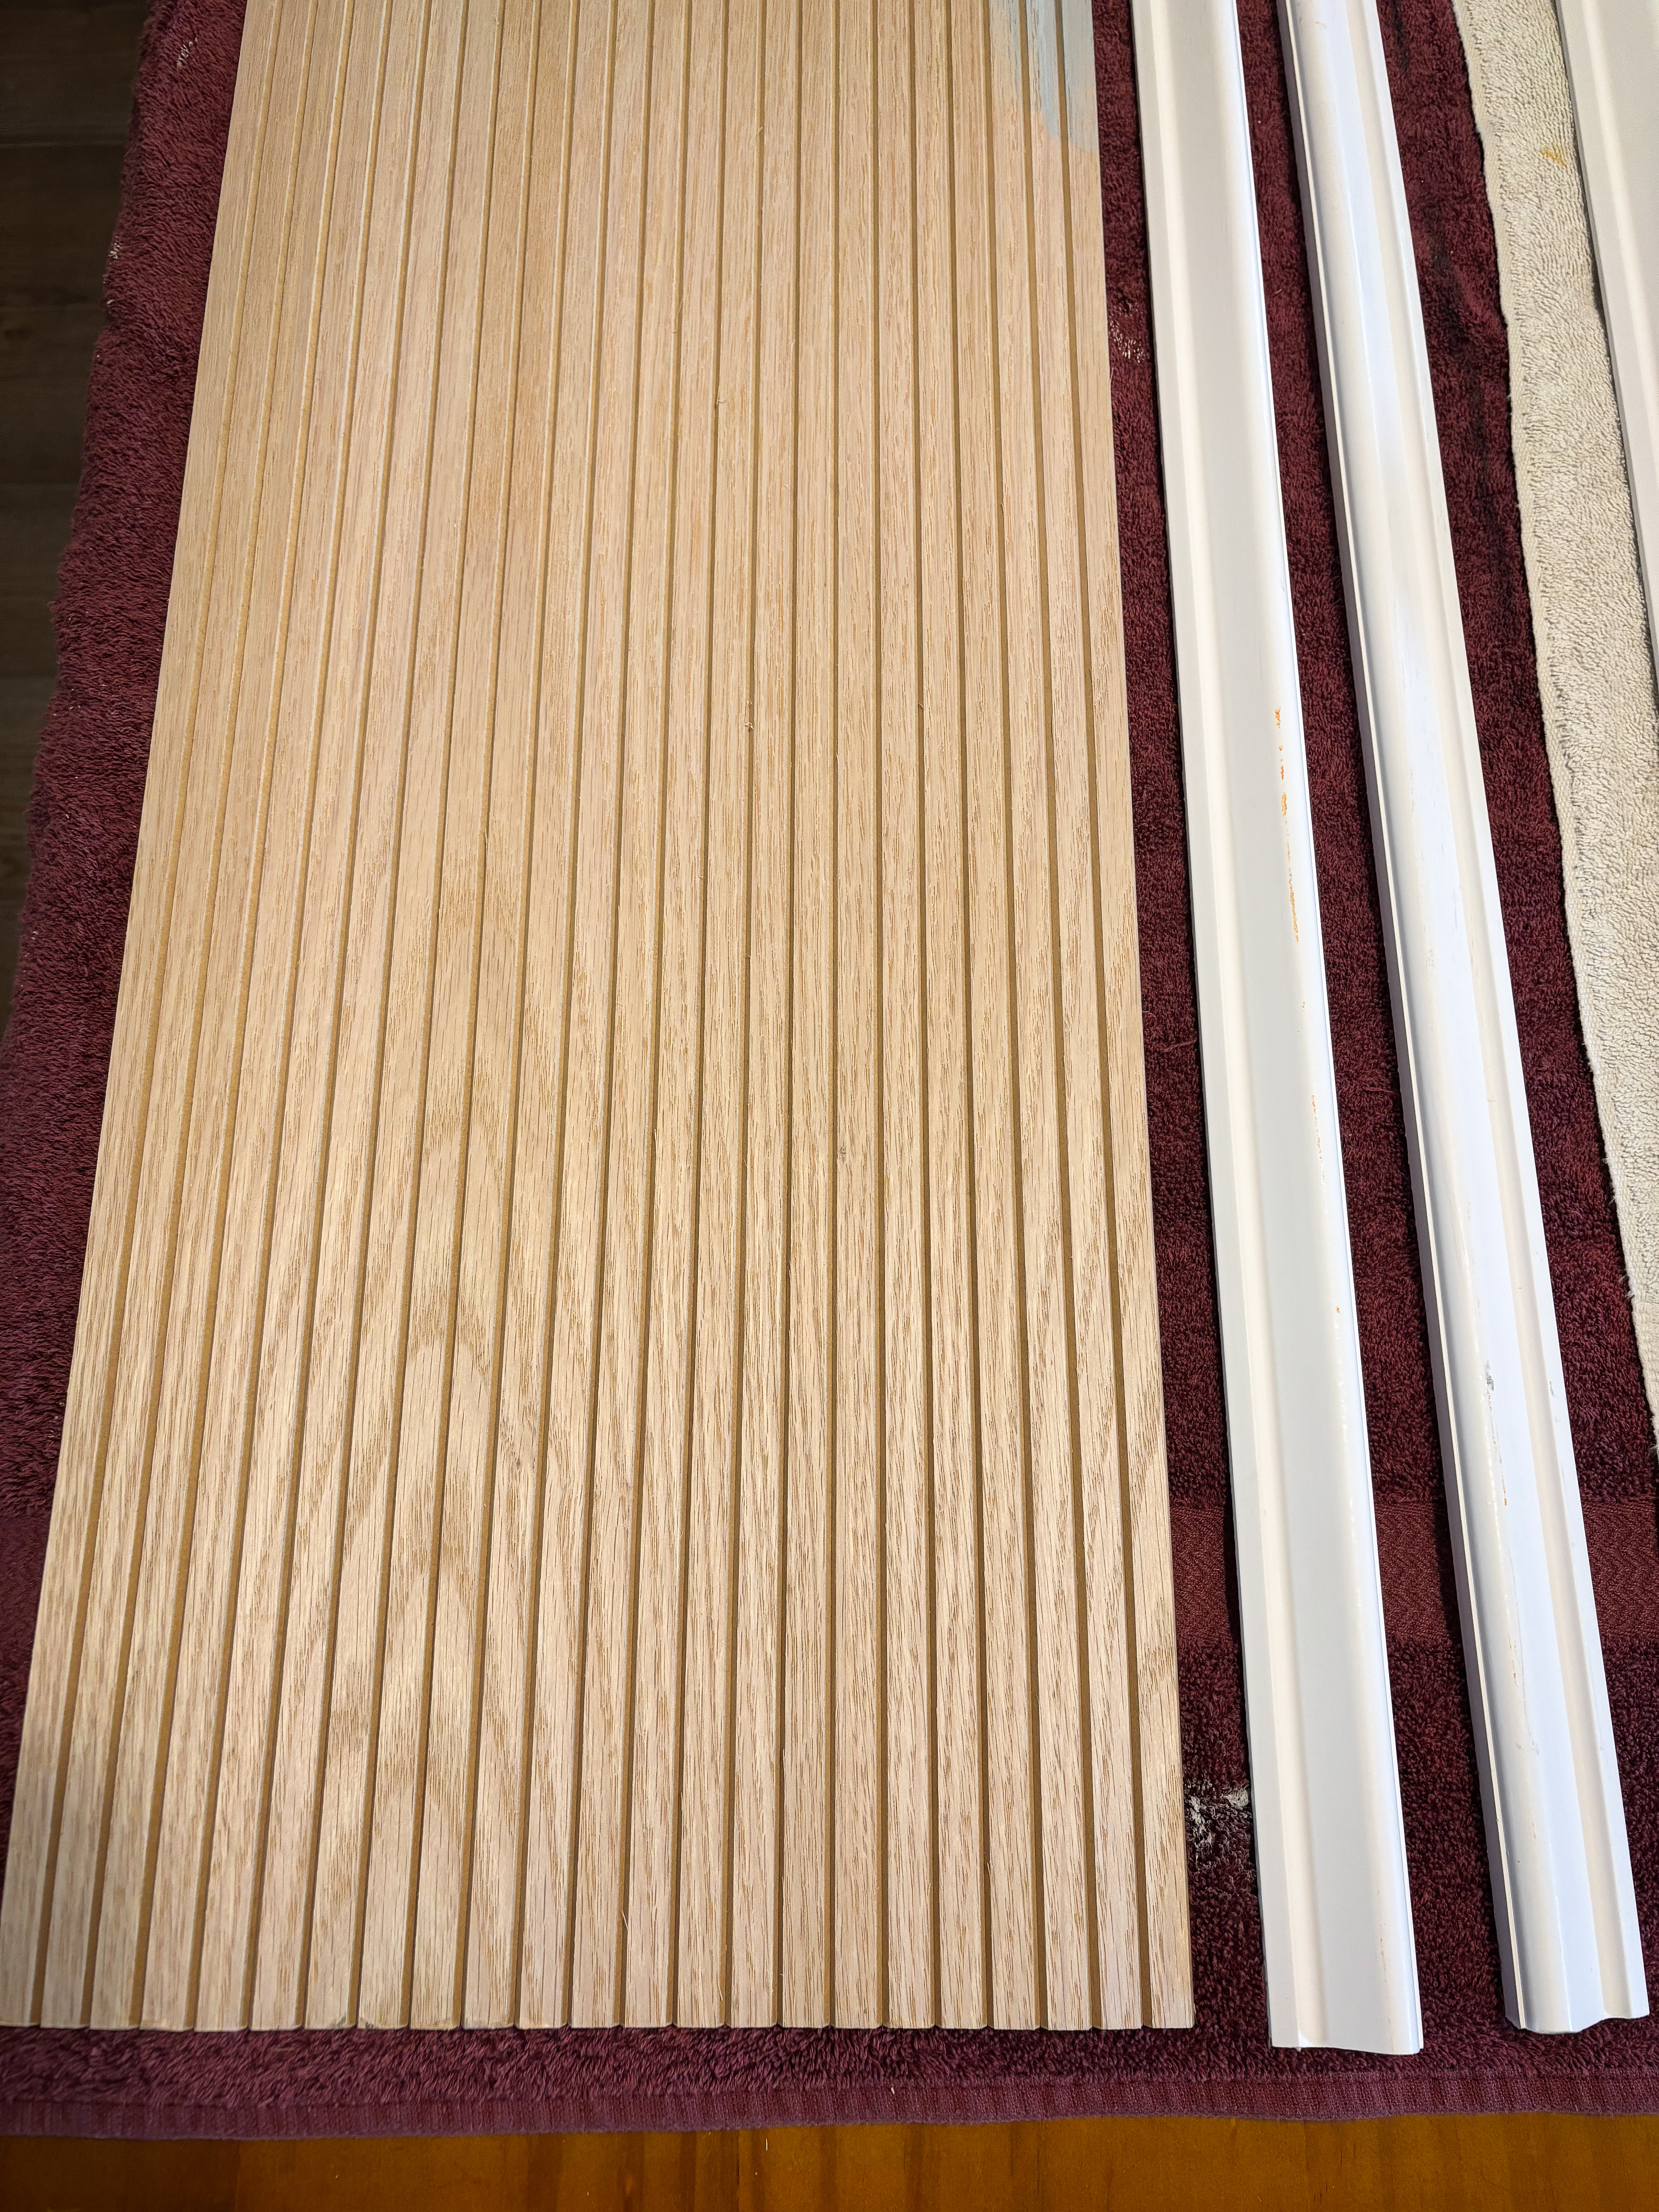
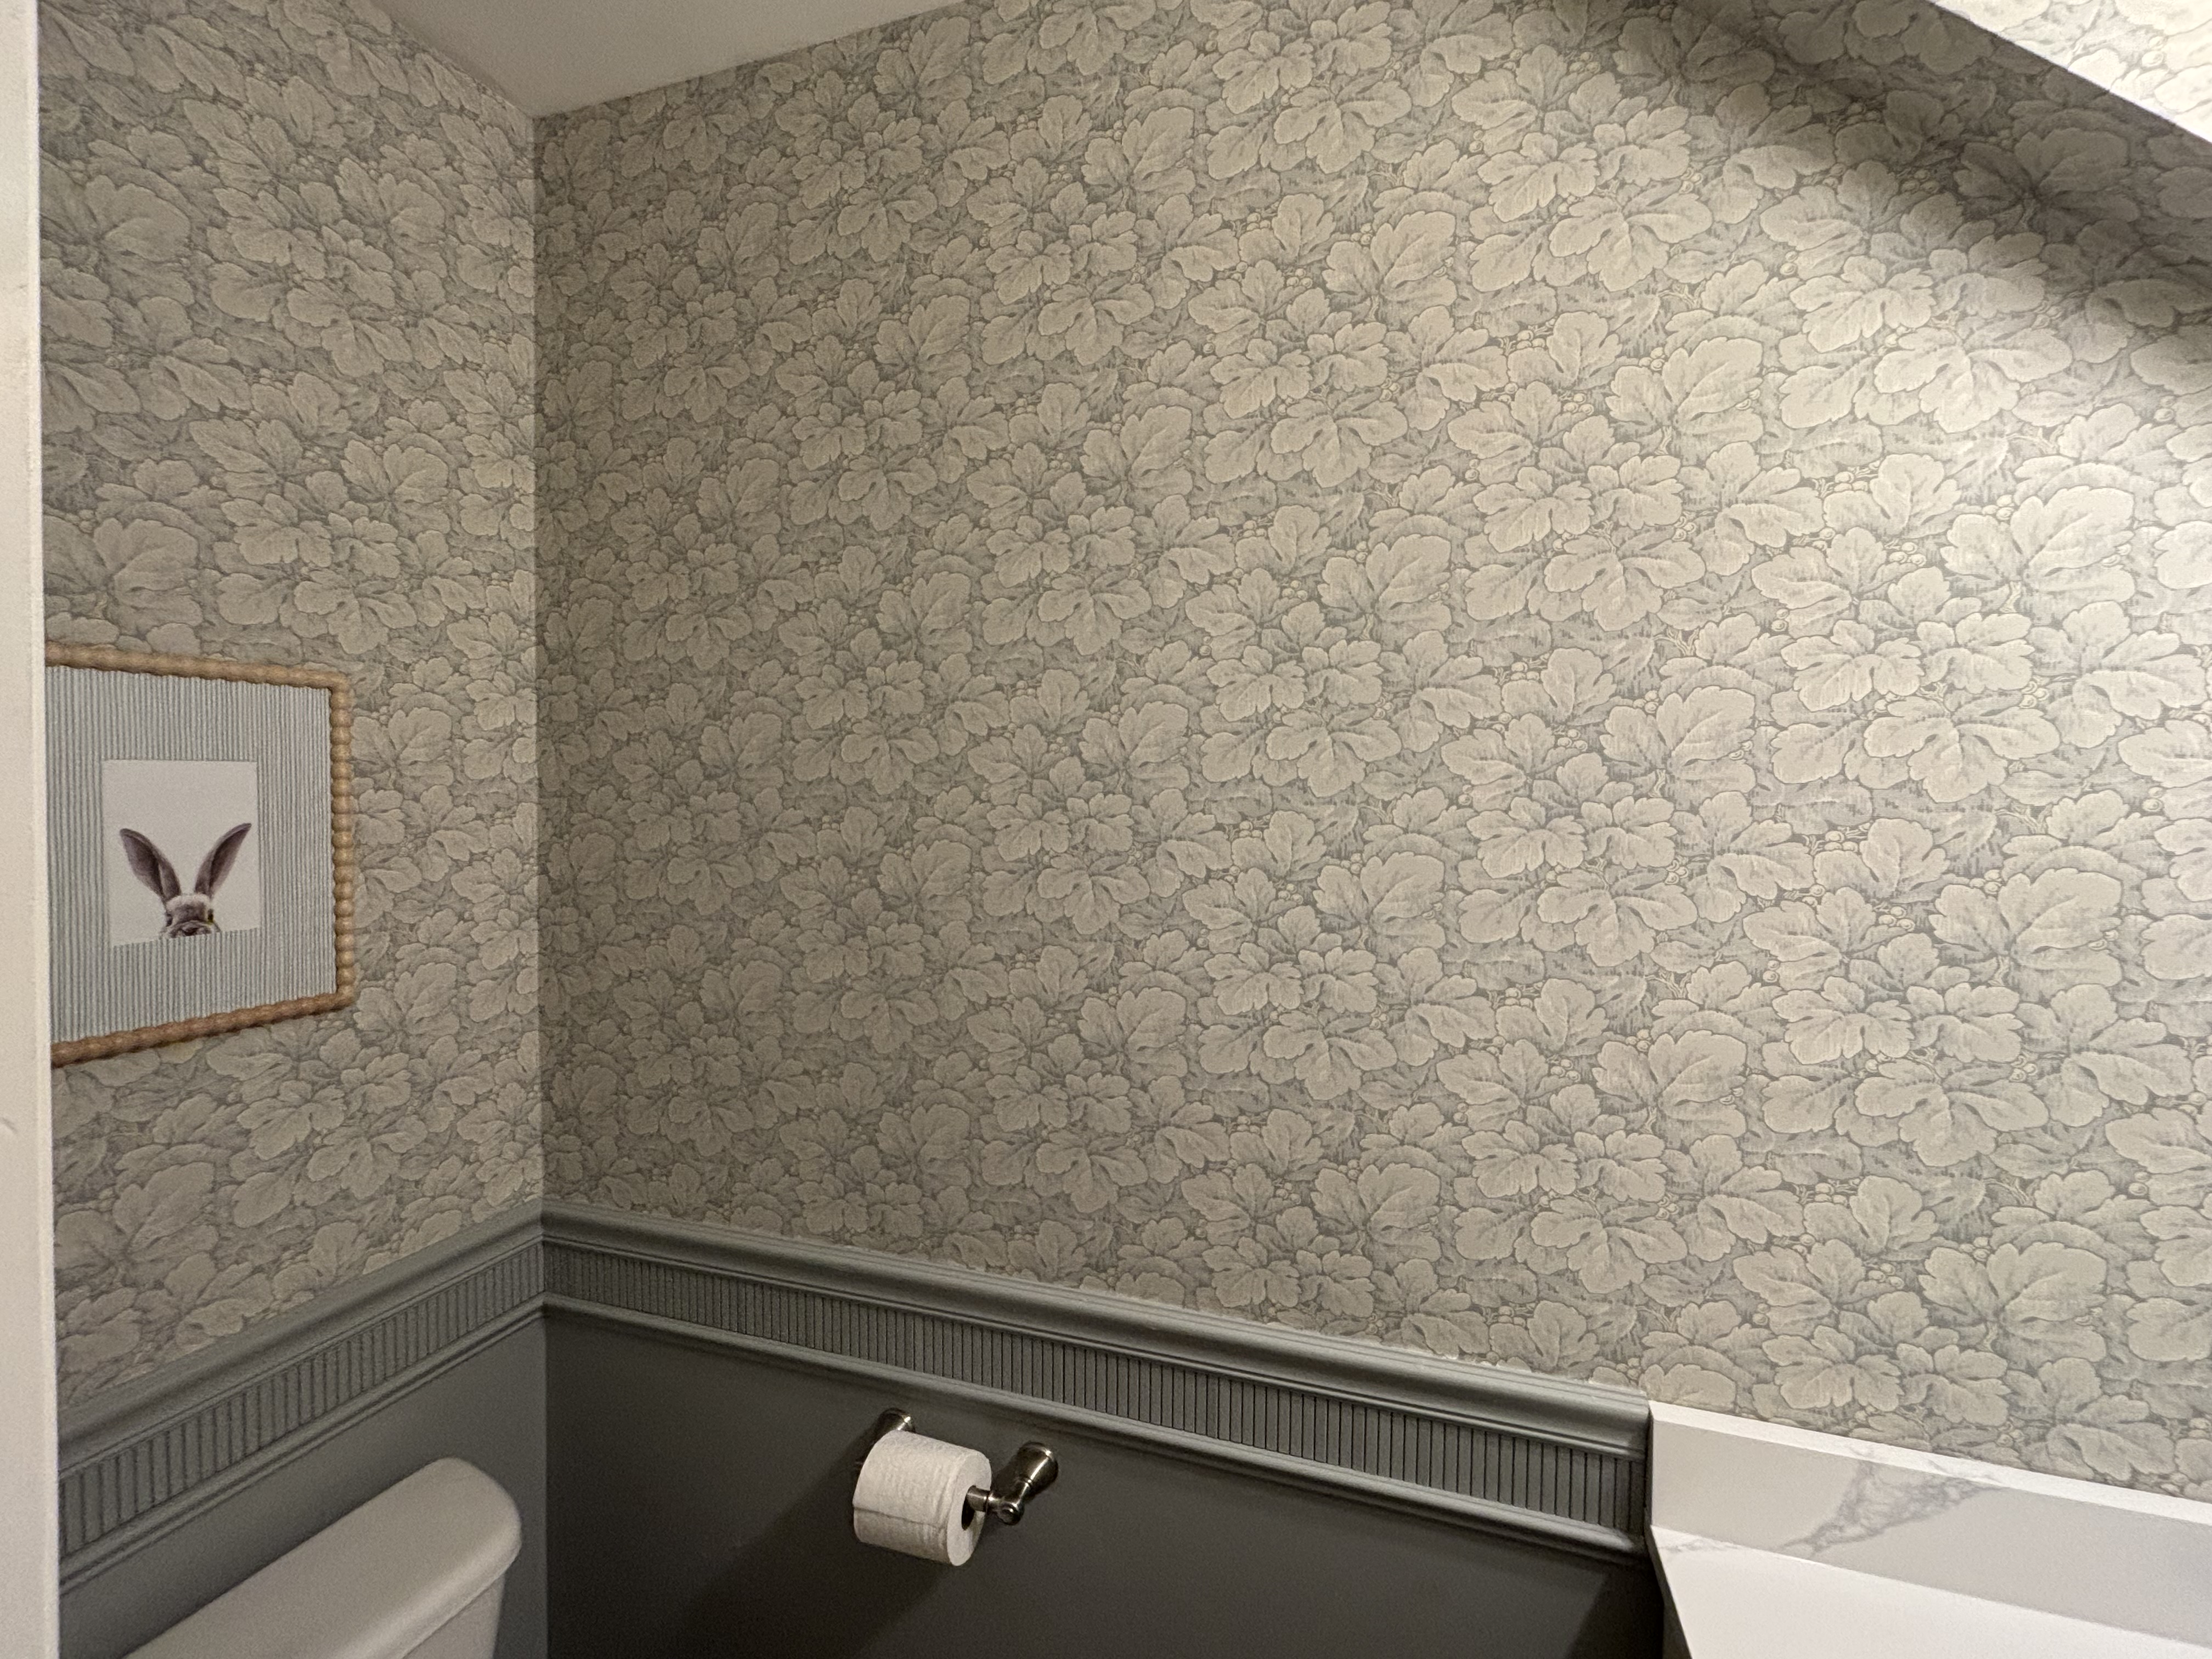
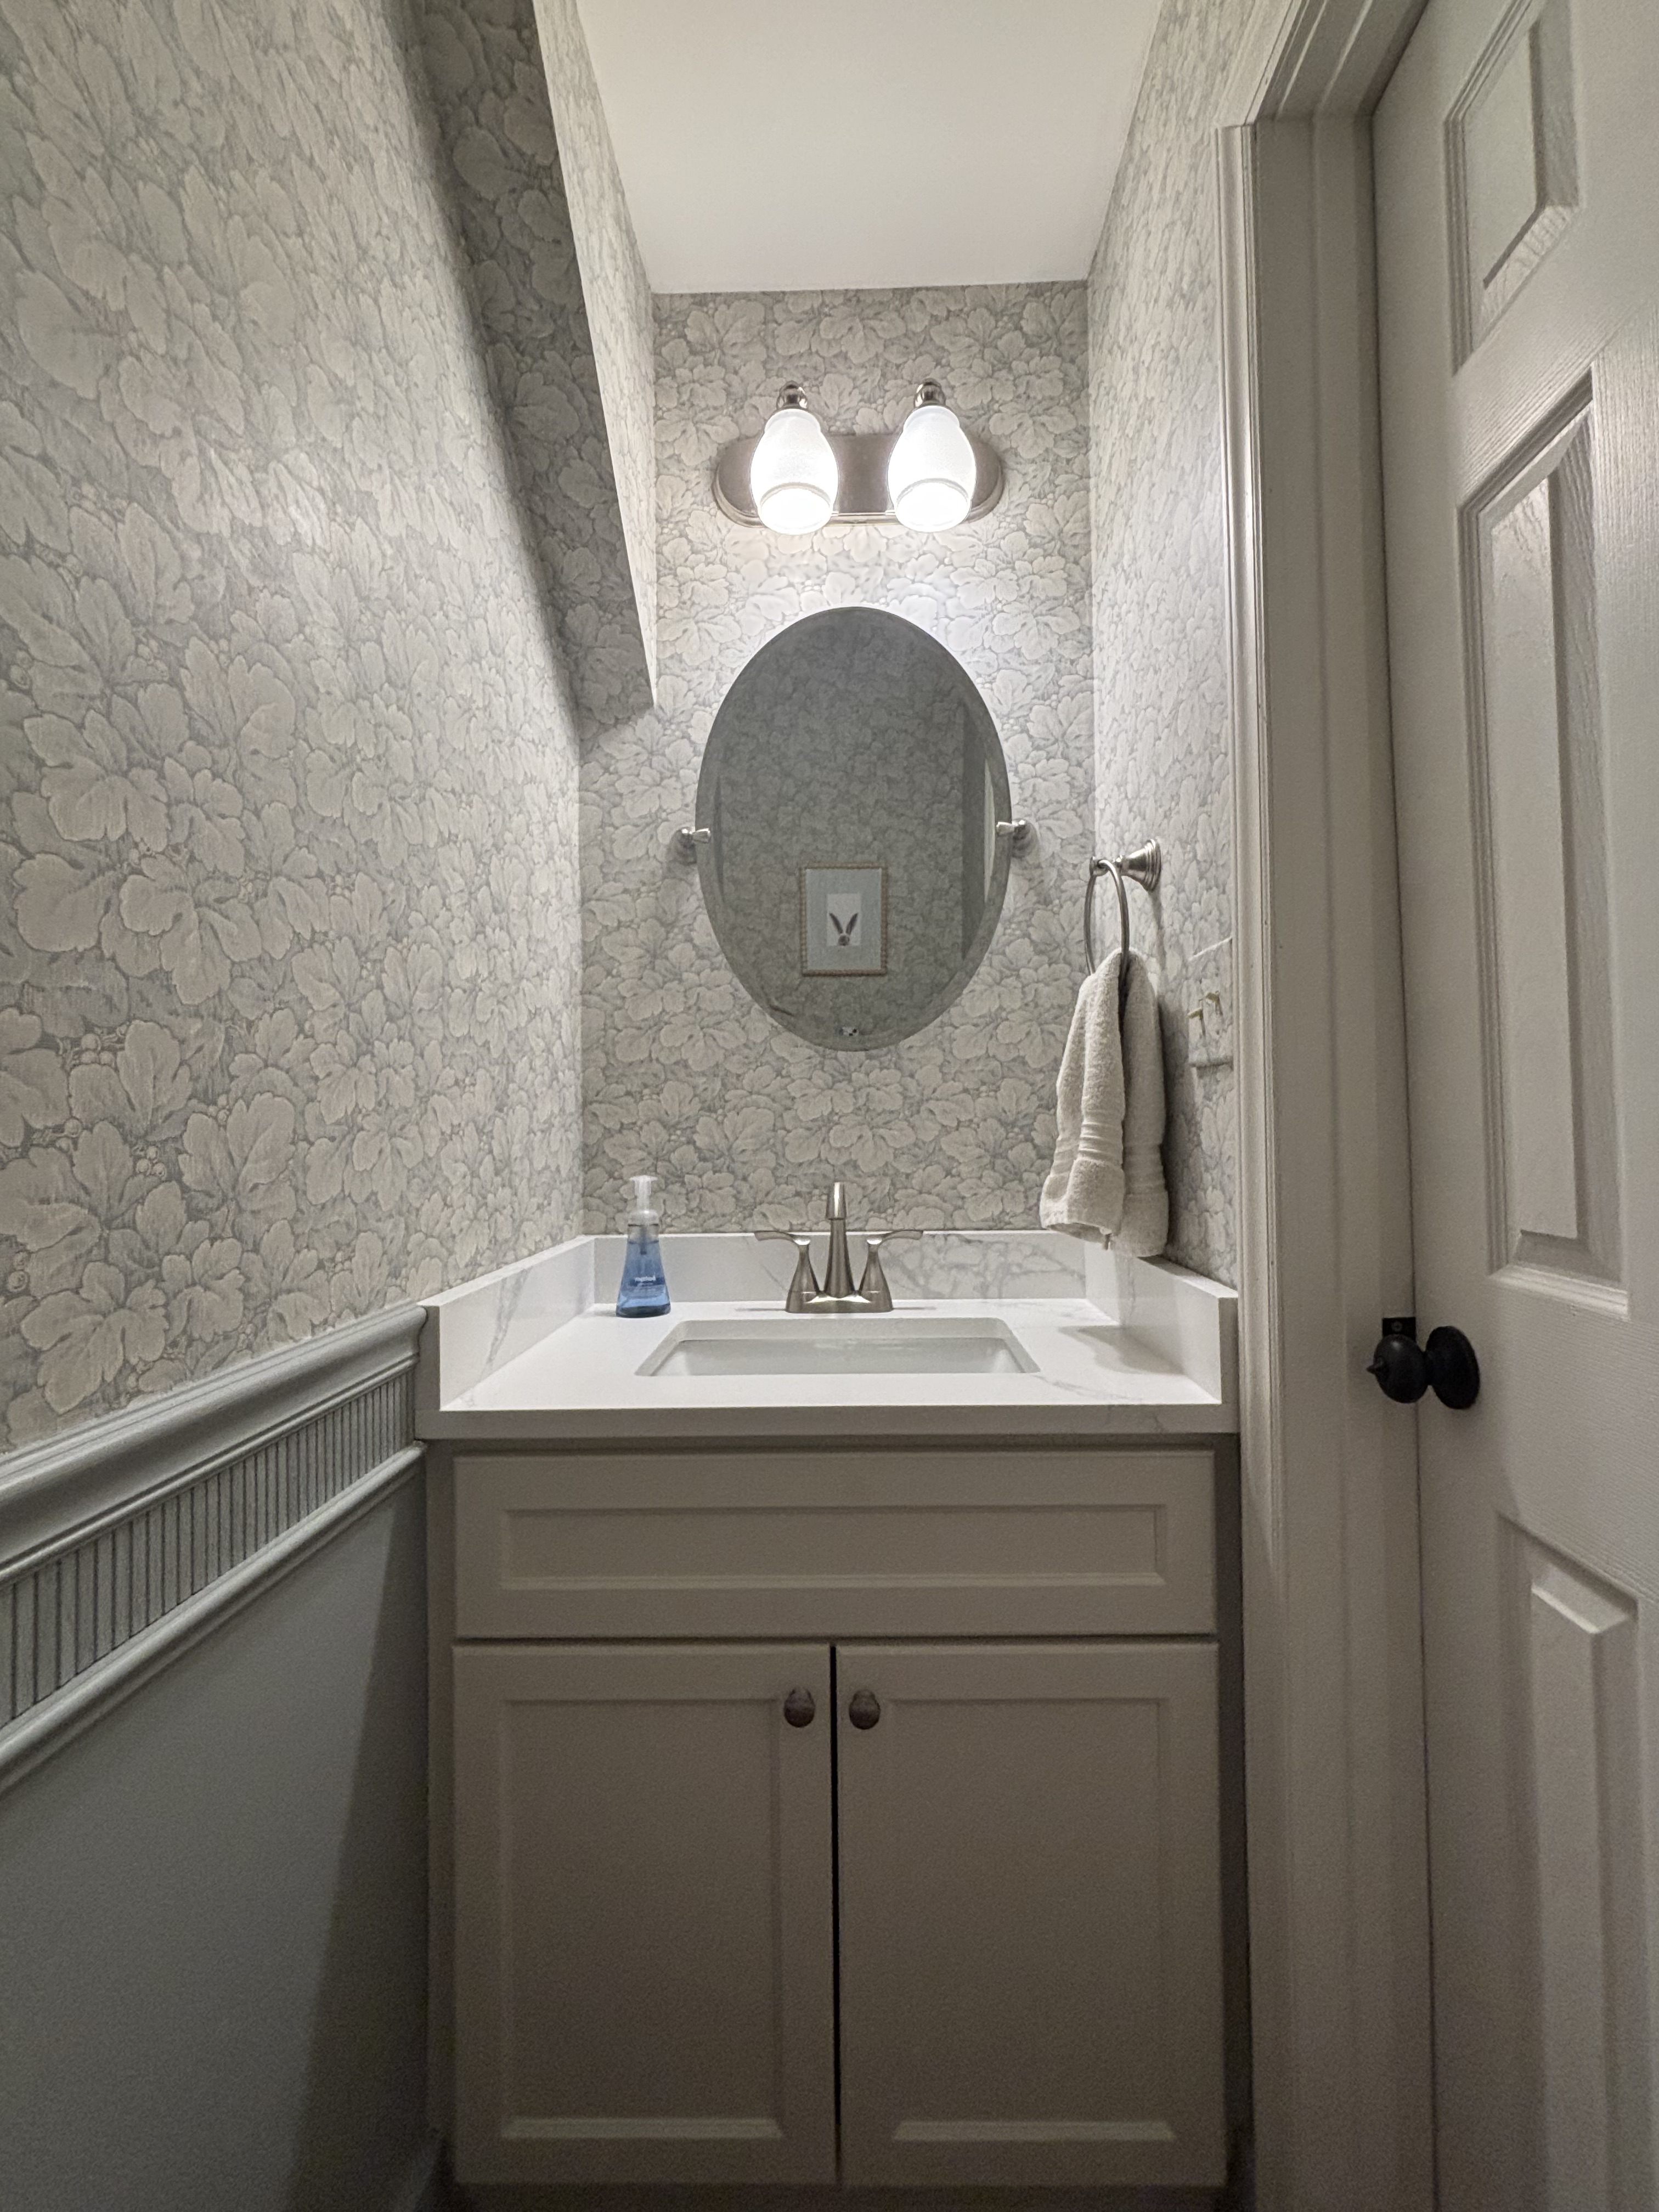
I took inspiration from the reeded backsplash in our kitchen bar and decided to bring that same texture into the bathroom design. Instead of covering the entire wall with reeded wood, we chose to incorporate it as part of the wall trim. The existing chair rail made this an easy decision, so we added the reeded wood just below it.
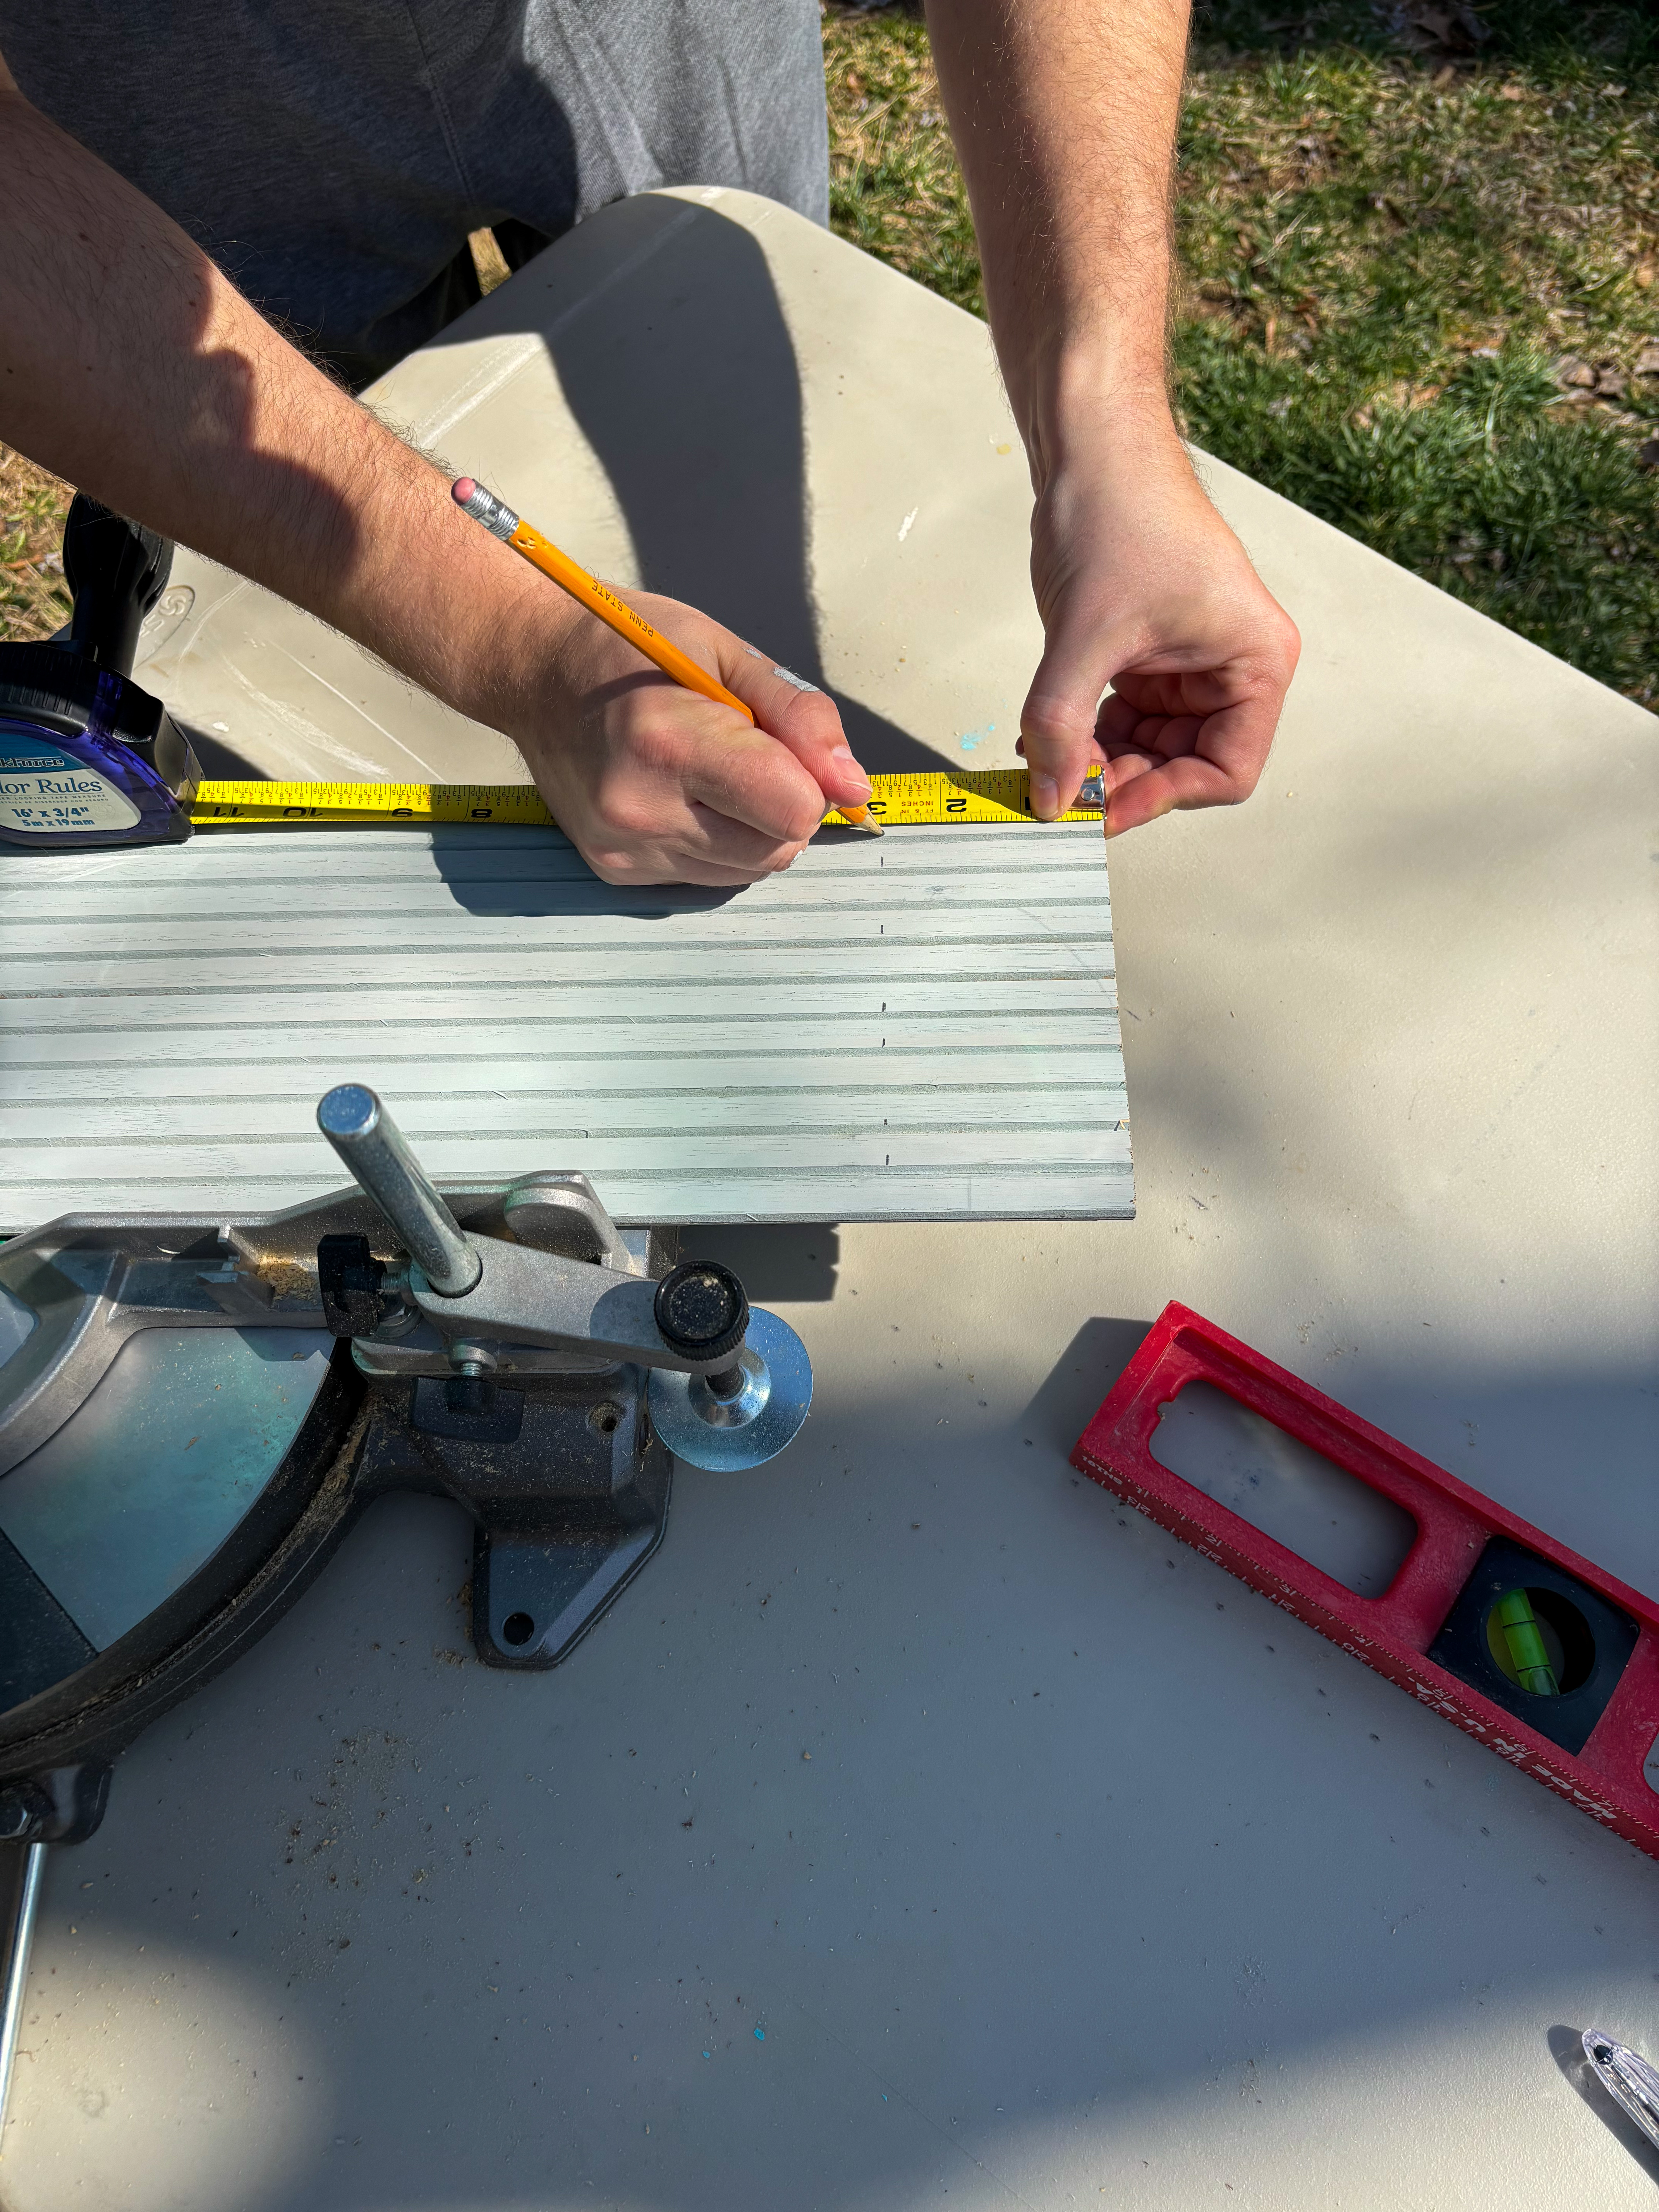
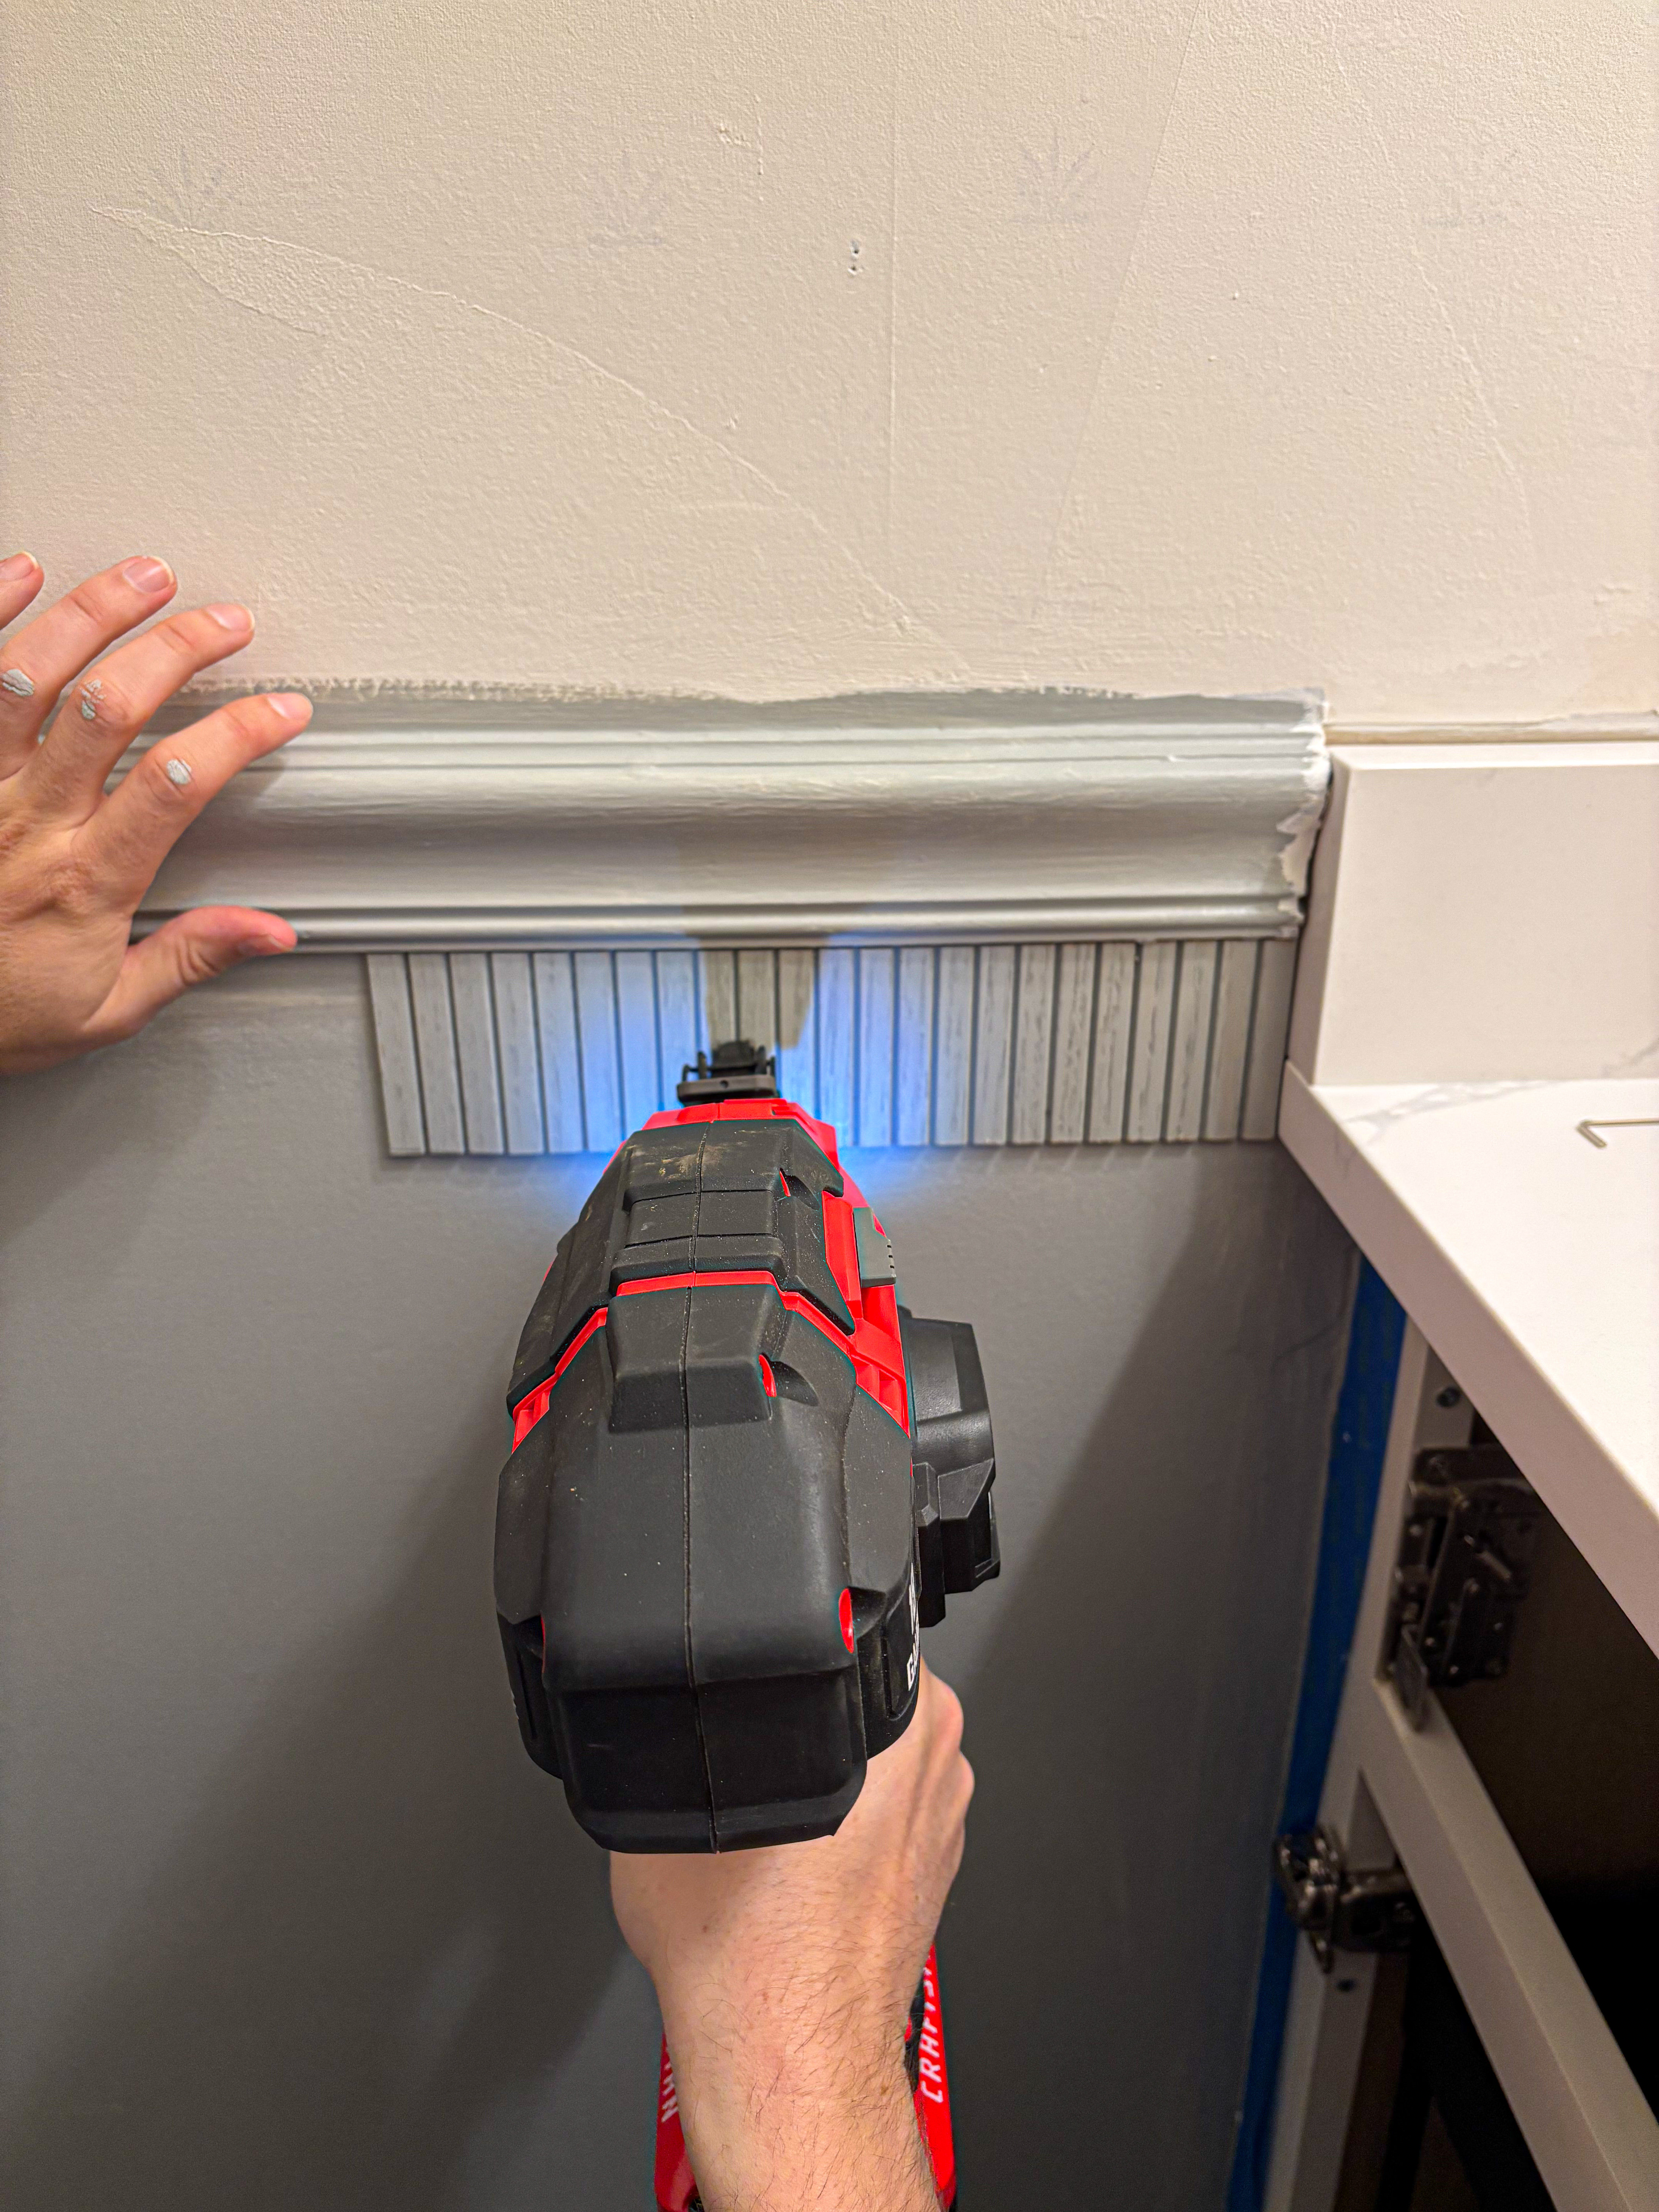
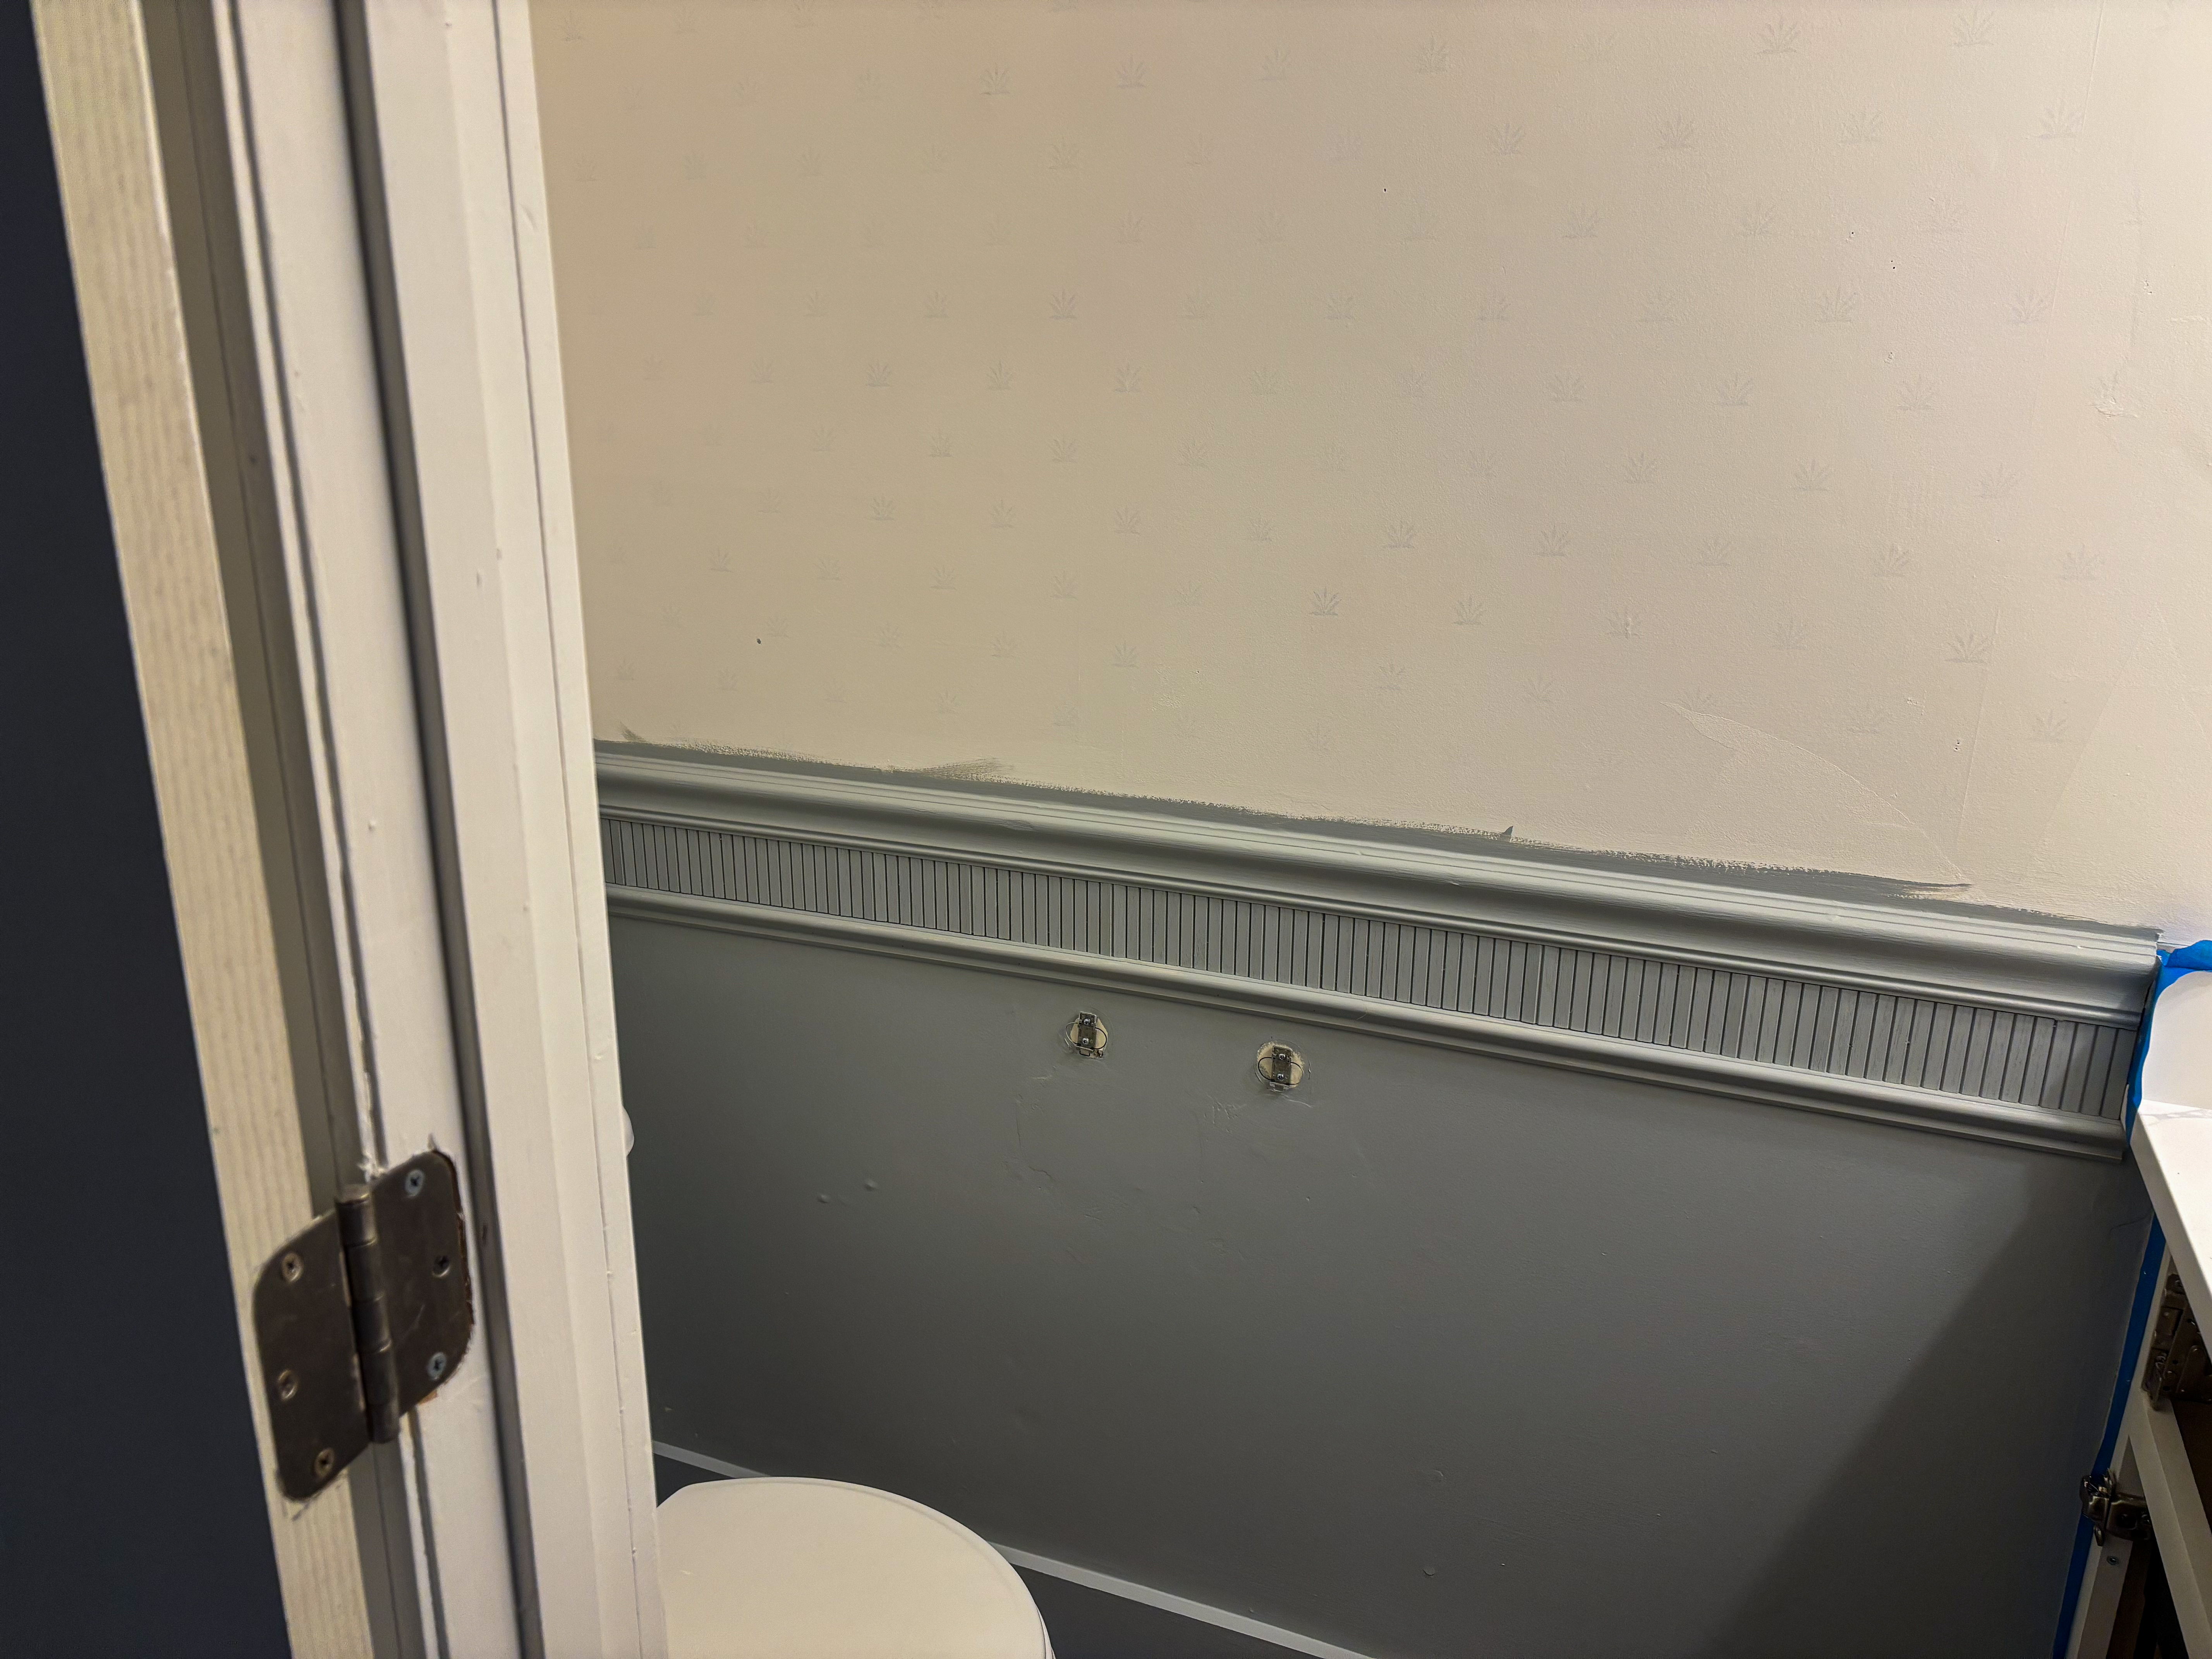
To create the trim, we cut the reeded wood pole wrap into 3-inch strips, glued and tacked it to the wall beneath the chair rail. If you’re curious about how to add reeded wood as a wall feature, check out my detailed blog post here for all the steps. Once the 3-inch strips were in place, we added a 1.5-inch decorative molding underneath for a clean, finished look. After everything was secured, we filled in any nail holes and corners with wood filler. Then, a fresh coat of paint was applied to the bottom half of the wall and trim. I chose Boothbay Gray by Benjamin Moore—it perfectly complements the wallpaper and gives off those charming French cottage vibes.
Wallpapering—This Time, We Get Help!
One of the most important lessons we learned from our previous attempt was knowing when to ask for help. This time, we were smarter and hired a professional wallpaper installer. Fortunately, the wallpaper we hung previously was so poorly applied that it was easy to remove. There was one more layer of old wallpaper underneath. But instead of going through the headache of stripping the wallpaper ourselves, we chose the easier route: painting over the old paper with an oil primer to seal it in. It’s much less time-consuming than trying to take it down!
After that, I found the perfect wallpaper on Wayfair (check it out here). The pattern is lush and leafy with an incredible depth of texture, inspired by 19th-century woven tapestries. It has just the right mix of contemporary and vintage charm, and it truly elevates the space.


The Final Touches:
With the walls and trim looking fresh, it was time to add some final touches. Since it’s a small space, I didn’t want to overwhelm the room with too many decorations, especially since the wallpaper is the real star here. Instead, I found a playful print from Desenio.com that brings just the right amount of whimsy back into the space. I also did a quick DIY project personalizing the mat, which I will provide details in an upcoming blog post. The result? A framed piece of art that perfectly complements the rooms new look.
Lesson Learned: Embrace Failure and Ask for Help
One of the biggest lessons we’ve learned through this process is that as DIYers, you have to be okay with failure and know when it’s time to bring in the pros. DIY is fun, but sometimes it’s about recognizing your strengths and weaknesses. And let’s just say wallpapering is definitely not one of ours! There’s no shame in asking for help, and it was a relief to outsource that task to someone who truly knew what they were doing. We’re so happy with how the project turned out and can’t wait to enjoy the transformed space.
If you’re thinking about taking on a DIY project of your own, remember: embrace the messes, accept the setbacks, and when the time comes, don’t be afraid to ask for professional help. It’s all part of the journey!

