With spring right around the corner, there’s no better time to start thinking about your garden. Whether you’re dreaming of homegrown vegetables or fresh herbs, getting a head start on the growing season by starting seeds indoors is the way to go! Here in North Carolina, with the last frost typically occurring around April 1st, starting seeds indoors in late winter ensures your plants will be ready to thrive when the weather warms up.
The following content may contain affiliate links. When you click and shop the links, we receive a commission.
Why Start Seeds Indoors?
Starting seeds indoors is especially helpful in regions like ours, where the warm weather period is shorter. It extends your growing season and gives you more control over the environment, creating optimal conditions for germination and early growth. Plus, it’s a fun and rewarding process—nurturing your plants from the very beginning is something to feel proud of!
When to Start Seeds:
Timing is key when starting seeds indoors. Ideally, you want to transplant your seedlings outdoors 1-2 weeks after the last frost date in your area, giving them time to acclimate. A good rule of thumb is to start seeds indoors 6-8 weeks before your last frost.
In my area, that means I’ll begin my indoor seed-starting around mid to late February. Here’s a quick guide for the plants I’m growing:
- Tomatoes: Start 6-8 weeks before last frost (mid-February)
- Cucumbers: Start 3-4 weeks before last frost (mid-March)
- Peppers: Start 8-10 weeks before last frost (early February)
- Broccoli: Start 6-8 weeks before last frost (mid-February)
- Herbs: Start 6-8 weeks before last frost (mid-February)
Since we’re starting with a smaller garden this year, it’s a manageable way to ease into gardening. Once we get more comfortable, we can expand the garden next season.
How to Start Seeds Indoors:
Starting seeds indoors is a bit of work, but it’s well worth it when you see your plants begin to sprout. Here’s a simple, step-by-step guide:
- Gather Your Materials You’ll need:
- Seed-starting trays or containers: You can use traditional seed trays like this one. Peat pots, or even repurposed containers like yogurt cups with drainage holes.
- Seed-starting mix: A lightweight, well-draining mix that’s designed for seed starting. Avoid regular garden soil, as it’s often too heavy.
- Seeds: Choose high-quality seeds suited to your region. For my garden, that includes tomatoes, cucumbers, peppers, broccoli, and herbs.
- Grow lights: If you don’t have a sunny spot, grow lights will give your seedlings the light they need. Luckily, we have a bright window perfect for seed starting.

2. Prepare Your Containers and Mix Fill your trays or containers with the seed-starting mix. Tap the containers lightly to eliminate air pockets, then water the soil so it’s moist but not soaking wet.
3. Plant the Seeds Follow the instructions on your seed packets for planting depth. As a rule of thumb, plant seeds about two times their size deep. Smaller seeds like basil should barely be covered, while larger seeds like tomatoes need a bit more depth.

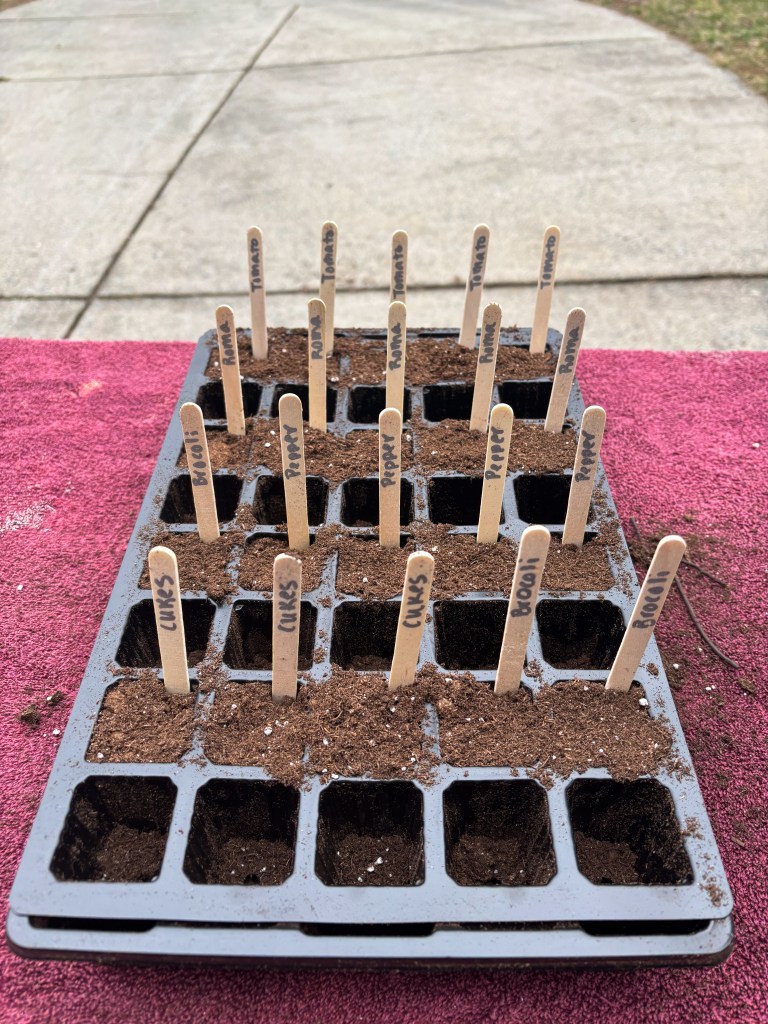
4. Label Your Seedlings To keep track of what’s what, use plant markers or popsicle sticks to label each tray or container with the plant name and the date you planted them.
5. Provide the Right Conditions Place your containers in a warm, bright spot or under grow lights. Most seeds need 12-16 hours of light daily to grow strong and healthy. If you’re using grow lights, keep them 2-3 inches above the seedlings. For natural light, make sure they get at least 6 hours of direct sunlight.
If your home is on the cooler side, consider using a heat mat under the trays to keep things warm. This is especially helpful for heat-loving plants like peppers.
6. Water and Care for Your Seedlings Keep the soil consistently moist, but not soggy. Water gently to avoid disturbing the tiny plants. Once they sprout, monitor their growth and make sure they aren’t getting leggy (tall and spindly). If they are, it could mean they’re not getting enough light.
7. Harden Off Your Plants Before you transplant your seedlings outdoors (usually around mid to late April in North Carolina), you’ll need to “harden off” the plants. This means gradually introducing them to the outdoor elements, starting with an hour or two of shade, then slowly increasing exposure to sunlight and wind over the course of a week. This process helps prevent shock when they are finally transplanted into the garden.
Final Tips:
- The number of seeds to plant per container depends on the size of the container and the plant type. Generally, 1-2 seeds per pot is sufficient. If both seeds germinate, thin out the weaker seedling.
- The number of plants you need depends on how much of each vegetable or herb you want. We’re going to start with 4-6 plants of each type, keeping it manageable. If we end up with too many, family and friends will be happy to take a few extras off our hands.
Conclusion:
Starting seeds indoors is a wonderful way to jump-start your spring garden. With a little patience and care, you’ll soon be rewarded with healthy, thriving plants that will be ready for your garden once the last frost has passed. By mid-spring, you’ll have a harvest of fresh tomatoes, peppers, cucumbers, broccoli, and herbs—perfect for all your culinary adventures. Happy planting!

