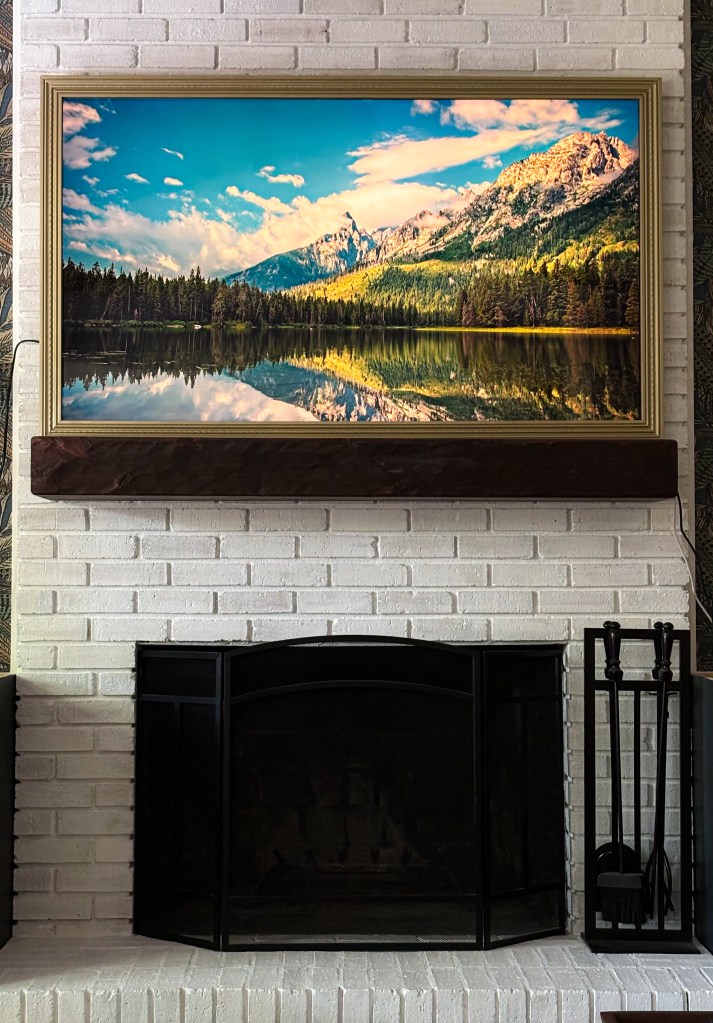
Today, I’ll show you how to create a stylish TV frame with just a few straightforward steps. While I admire the sleek Framed TVs from Samsung, their price tag isn’t something I wanted to splurge on. Instead, I opted to craft a custom frame for our existing TV at a fraction of the cost—less than $50 to be exact. This project is both affordable and simple enough that you might find yourself framing all your TVs!
(Note: This post contains affiliate links)
Materials:
Decorative trim moulding
Paint or stain (I used Rust-oleum matte metallic Sunlit Brass )
4 L-Brackets
Tools:
Miter saw or Miter box
Screw driver
Step 1 (Choose Trim and Cut):
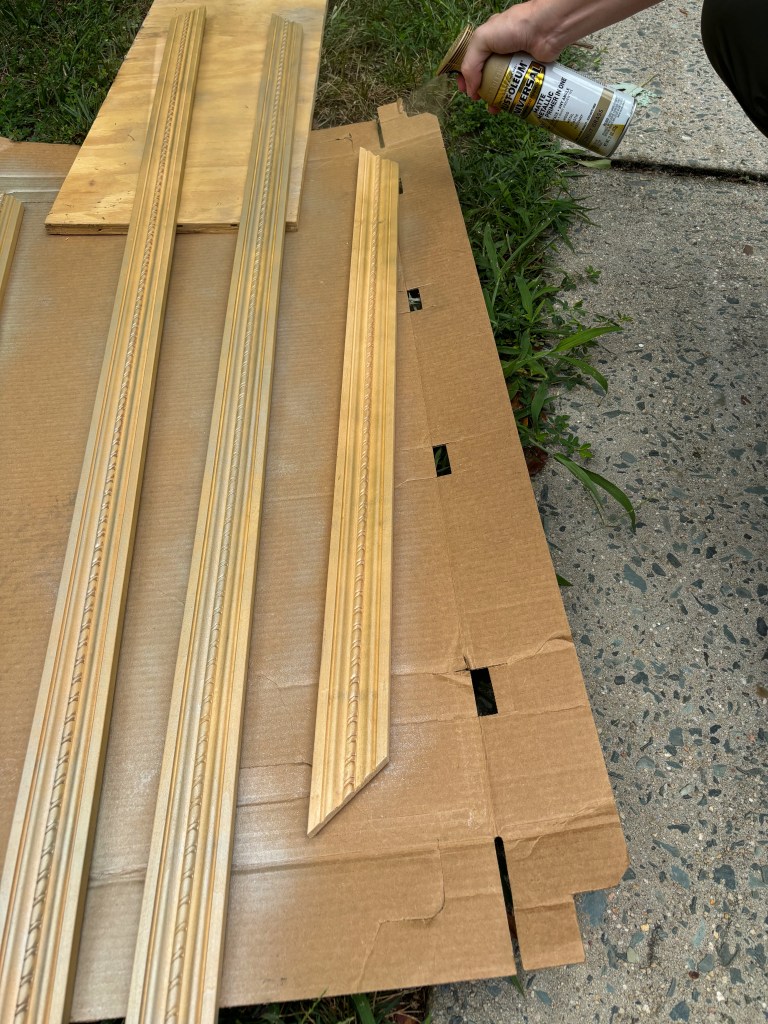
I selected trim moulding from Home Depot’s cabinet trim section. I needed three 6-foot pieces for my 65″ TV, but larger TVs may require more. Lay out your trim pieces to ensure they’re perfectly straight. Measure your TV, ensuring the frame covers any plastic border, and cut the trim at 45-degree angles using a miter saw or miter box.

Step 2 (Paint or Stain):
The finish is up to you—whether you prefer paint or stain. I opted for gold spray paint, applying multiple coats for even coverage over the intricate details of the moulding.
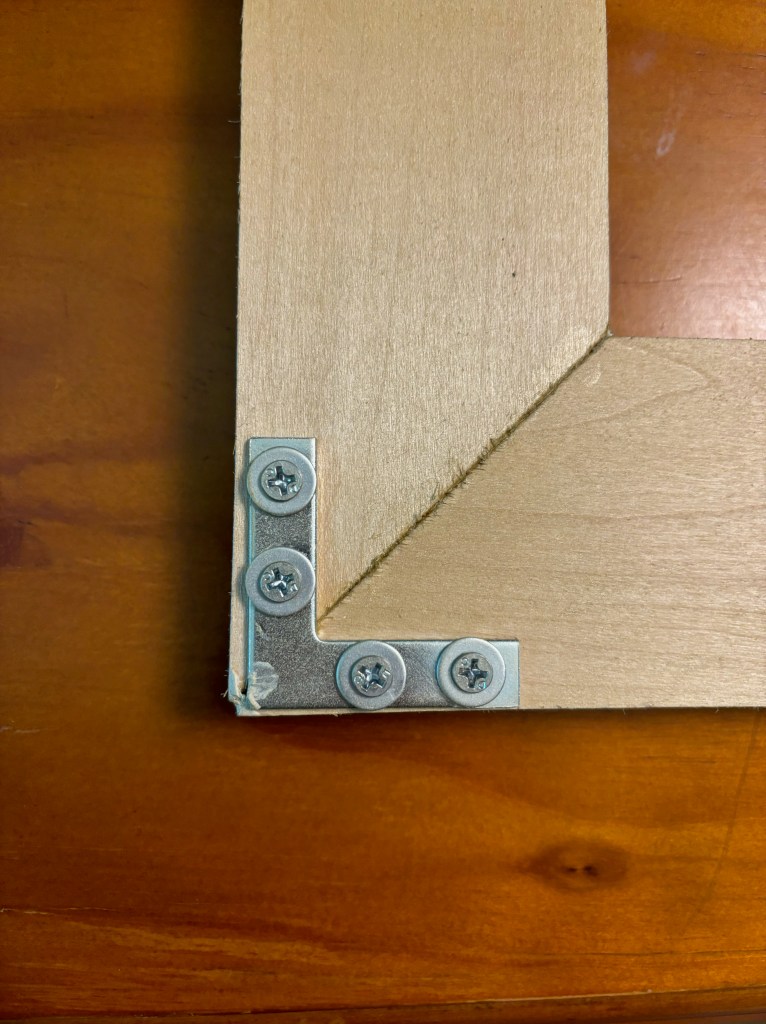
Step 3 (Assemble the Frame):
Apply glue to the corners of the frame and carefully wipe away any excess. After the glue has dried, attach an L-bracket to each corner on the back of the frame to ensure it stays straight. Fill any gaps with wood filler and touch up with paint as necessary.
Step 4 (Final touches):
Finally, attach elastic bands to each corner to secure the frame snugly around the TV. I was not able to find thick enough elastic at my local Michaels, so I doubled up the elastic. Amazon has thicker elastic at a good price, this is a good option.

With your frame complete, hang it securely and enjoy your revamped TV setup! If you have a Samsung TV, take advantage of the Ambient mode to explore its stylish screen savers and enhance your viewing experience.